Make Money From Unused Shelf Space
Every empty shelf in your space is revenue you are not collecting. Learn how Retail Widgets turn idle surfaces into automated income with scan-to-pay checkout, live stock tracking, and instant split payouts.
You can make money from unused shelf space without hiring extra staff, buying inventory, or renegotiating your lease. The mechanic is straightforward: a maker places their products on your shelf, a Retail Widget handles scan-to-pay checkout, and the revenue splits automatically between you and the maker the moment a sale happens.
That surface behind your counter, the windowsill by the door, the ledge next to your register, all of it is quietly costing you by sitting empty. The right products, paired with the right setup, turn static square footage into a passive revenue stream.
This article covers eight practical steps to get there:
- Identify every surface that could host a product
- Choose products that match your space and customers
- Deploy a Retail Widget
- Structure a fair revenue split with your makers
- Let your space do the selling without extra staff effort
- Scale from one shelf to a distributed hosting network
- Which merchant spaces work best
- What to look for when choosing a maker to host
Each step is actionable. No operational overhaul required.
Why Idle Shelf Space Is a Silent Cost, Not Just a Missed Opportunity
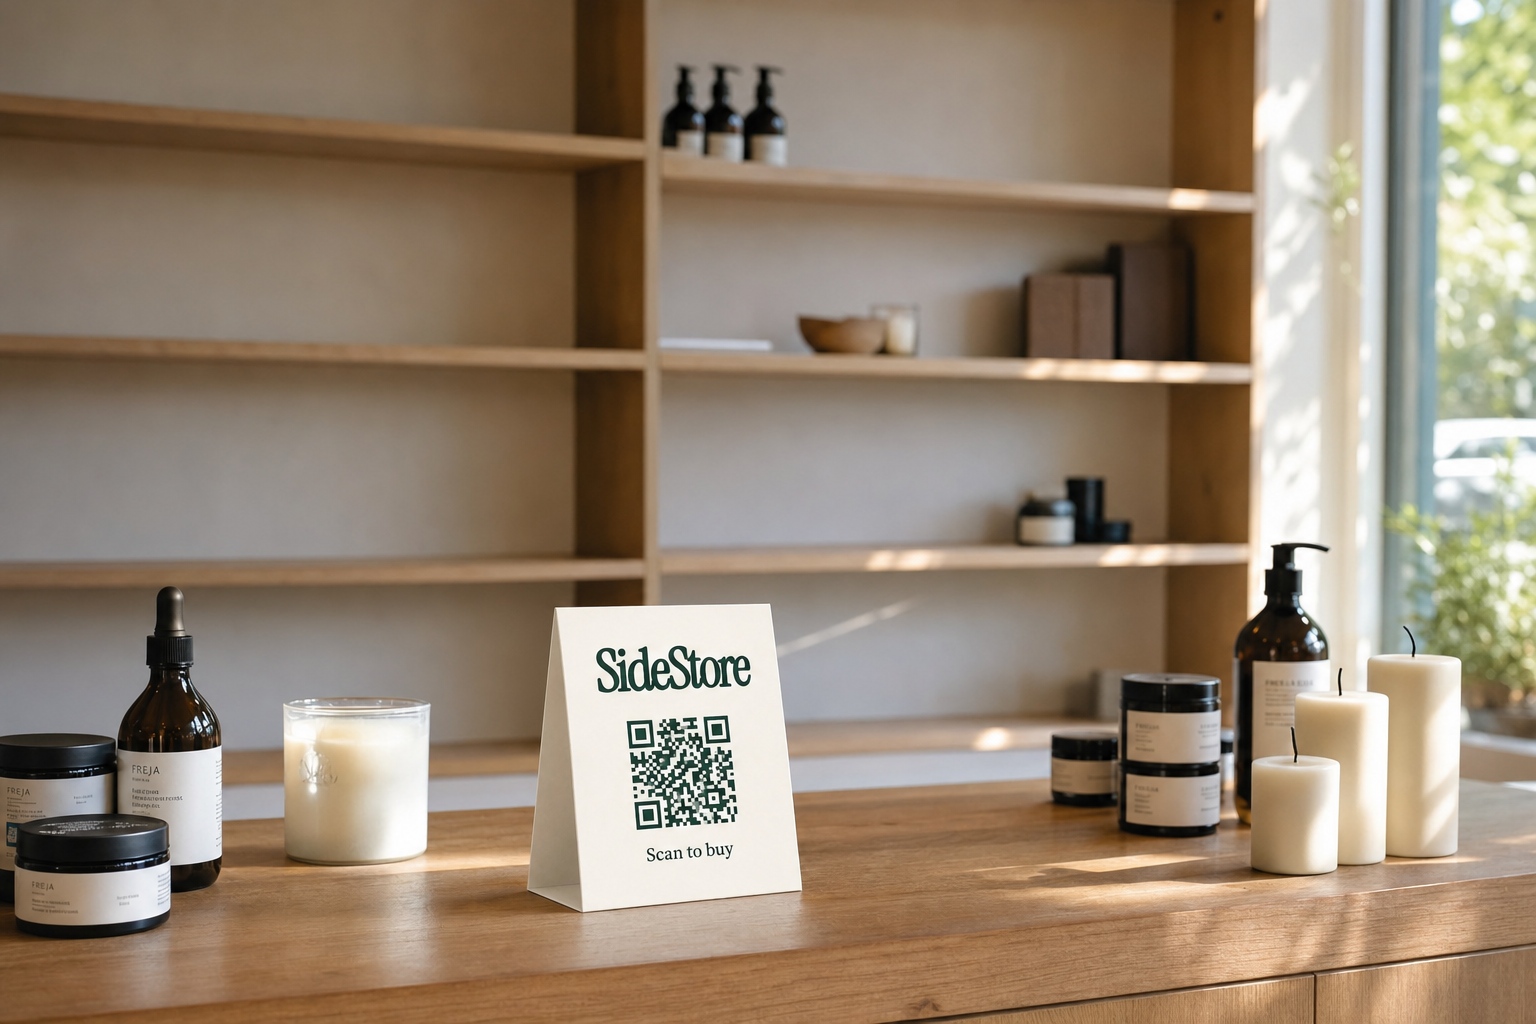
Empty space feels neutral. It is not. Every square metre of retail surface that sits unused represents rent, utilities, and fit-out investment that generates zero return. That is not a missed opportunity, it is an active cost you are absorbing every single day.
The comparison is stark. Shelf empty: you pay for the space. Shelf hosting three locally made candles with a Retail Widget attached: each scan-to-pay transaction generates revenue for you automatically, the maker replenishes stock when the tracker shows it running low, and you did not touch the till once.
Four types of spaces carry this cost most visibly. Coffee shops have countertops, windowsills, and queue-line surfaces that customers stare at for minutes at a time. Boutique hotels have lobby surfaces, room amenity shelves, and corridor ledges that go entirely unmonetised. Independent boutiques have styling tables, fitting-room ledges, and entrance display areas that host nothing but dust. Bed and breakfasts have breakfast-room credenzas and lounge shelves that could showcase local makers to guests actively looking for something to take home.
None of these spaces require a major redesign. They require a product, a Retail Widget, and a split agreement with a maker.
The steps below show you exactly how to turn each of those surfaces into a working part of your revenue mix.
1. Identify Every Surface That Could Host a Product
Start with a physical walkthrough of your space. Move slowly. You are looking for horizontal surfaces that sit within customer eyeline and dwell zones, anywhere a person pauses, waits, or lingers for more than thirty seconds.
A viable hosting surface does not need to be large. A footprint of 30 to 60 centimetres is enough to display three to five products comfortably. The products need to be visible and reachable without staff assistance.
Prioritise high-dwell areas first. In a coffee shop, that means the counter queue, the collection point, and any seating near the window. In a boutique hotel, the check-in desk and lounge seating area rank highest. In a fashion boutique, the fitting-room waiting area and the register queue are where customers stand with nothing to do but look.
Low-dwell areas, corridors, stairwells, back corners, can still host products, but they will convert less reliably. Note them but do not start there.
Once you have walked the space, make a simple list: surface name, approximate size, and estimated dwell time. Three to five surfaces is a solid starting point. You do not need to activate all of them at once.
Your action for today: walk your space right now and photograph every horizontal surface that a customer could reasonably reach. That list is your hosting inventory.
2. Choose Products That Match Your Space and Customers
The right product feels like it belongs. The wrong product creates friction and sits unsold. Three criteria help you filter quickly.
First: physical fit. The product needs to sit within your available footprint, require no specialist storage, and stay presentable without daily intervention. Shelf-stable, room-temperature items work everywhere. Anything requiring refrigeration, humidity control, or special handling adds operational complexity you do not want.
Second: customer alignment. Your existing customers are your buyer pool. A coffee shop hosting artisan roasting accessories, locally made ceramic mugs, or a small-batch coffee syrup is selling to people who already think about coffee. A boutique hotel hosting travel-sized local body care products, hand-poured candles, or a regional food item sells to guests actively seeking a local experience. A fashion boutique can host handmade jewellery, silk scarves, or art prints that complement the clothes on the rails.
Third: price point. Scan-to-pay checkout removes the need for staff involvement entirely, which means a customer can complete a purchase without interrupting anyone. That works best when the price point is low enough that a customer will act on impulse. Products priced between 10 and 80 CHF tend to convert well in hosted settings. Higher price points are possible but benefit from brief contextual signage.
Scan-to-pay eliminates the usual friction of "do I bother the staff to buy this?" The product just needs to be the right fit for the room.
Start with two to three products from one maker. Prove the concept in your highest-dwell surface before expanding.
3. Deploy a Retail Widget: Scan-to-Pay, Live Stock, Split Payouts
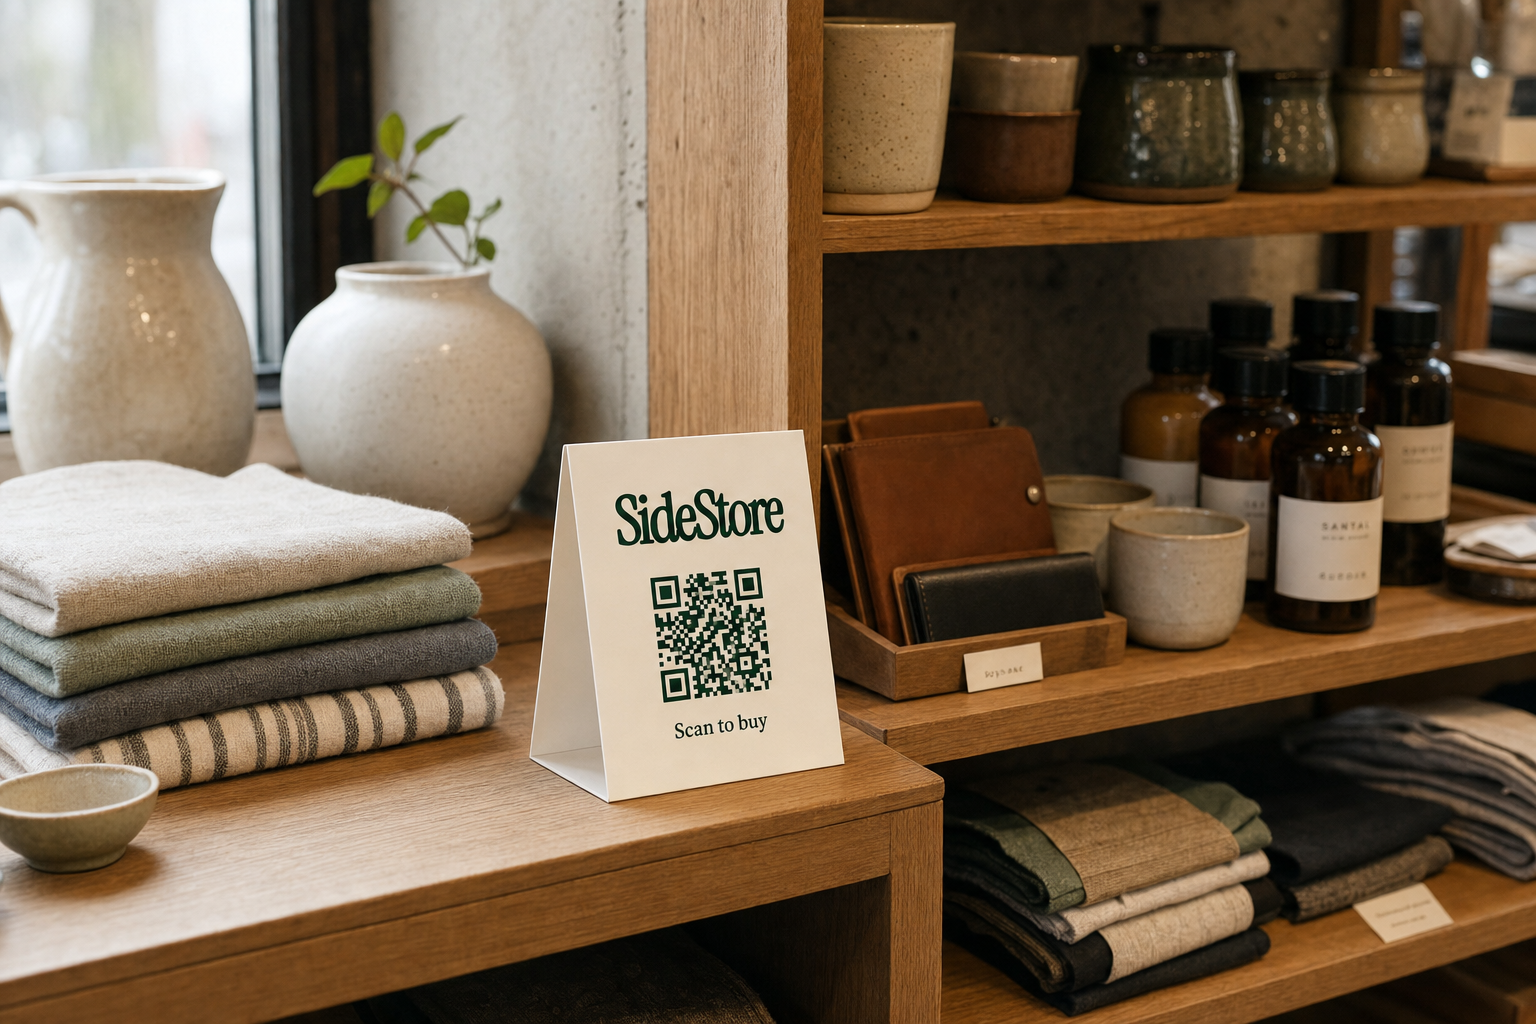
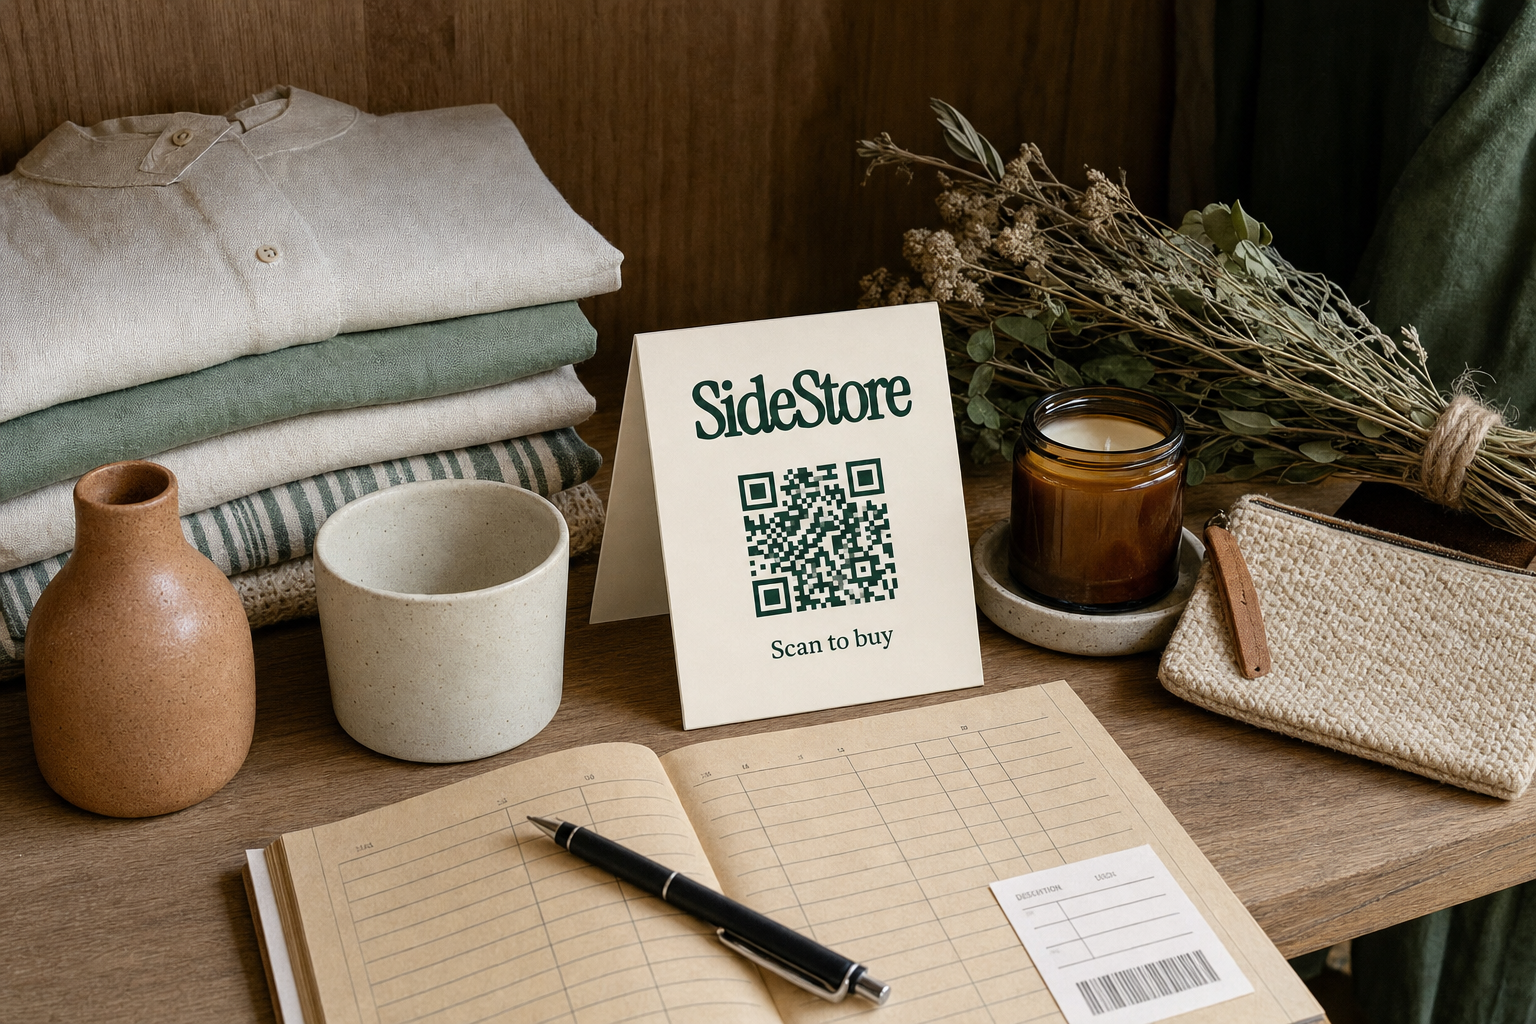
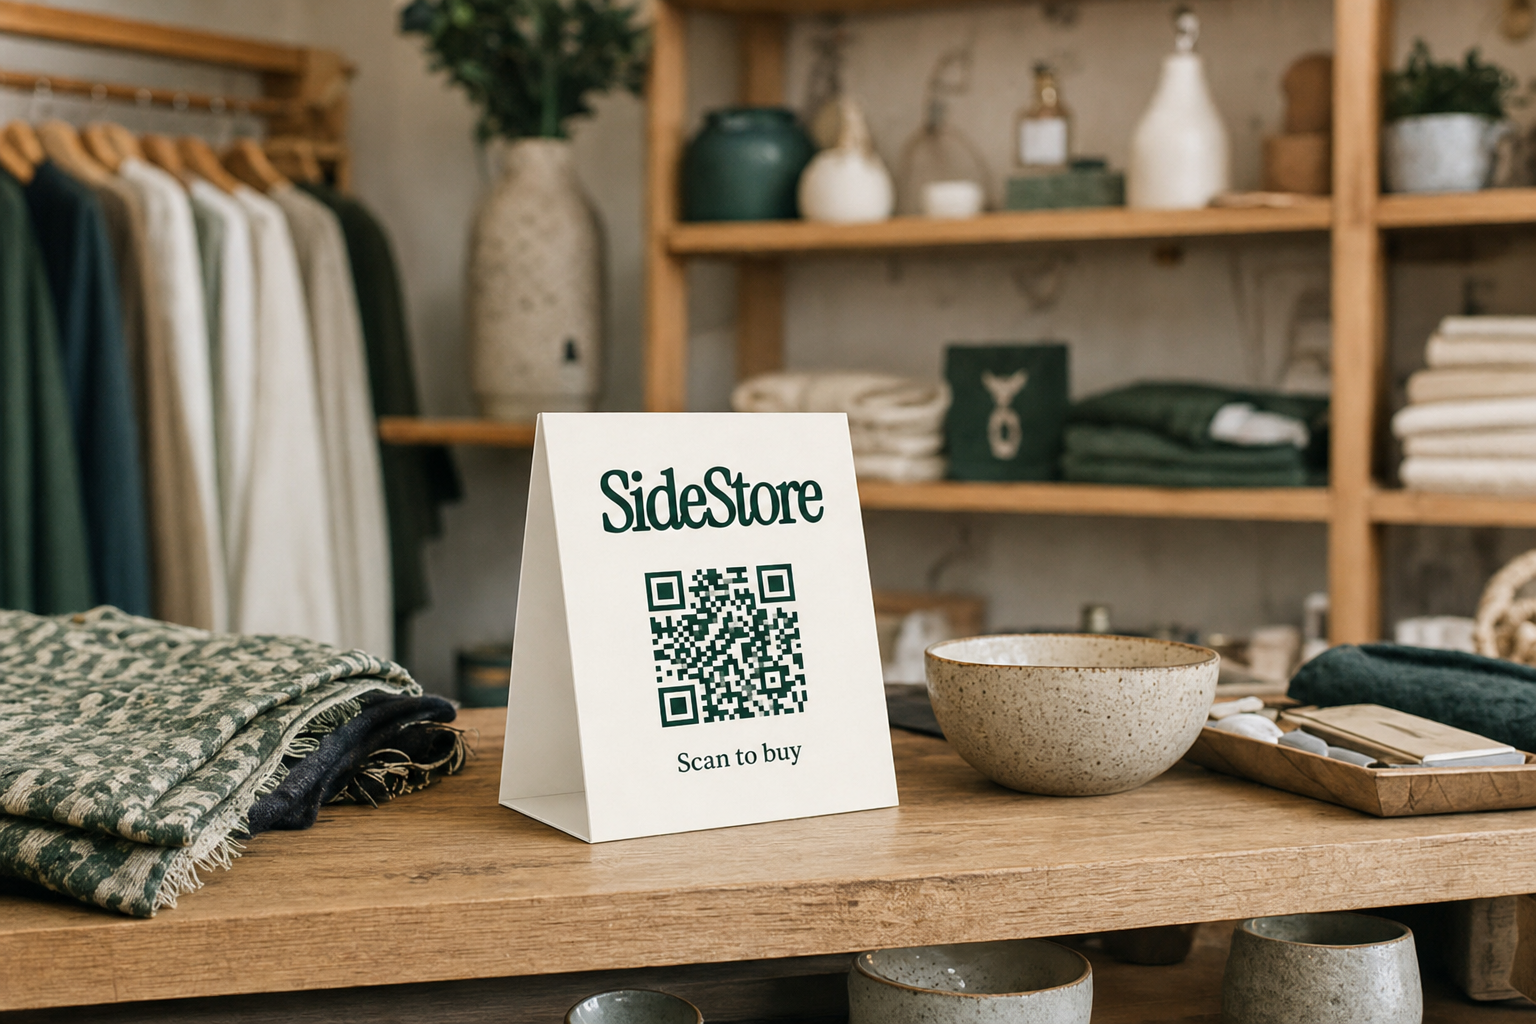
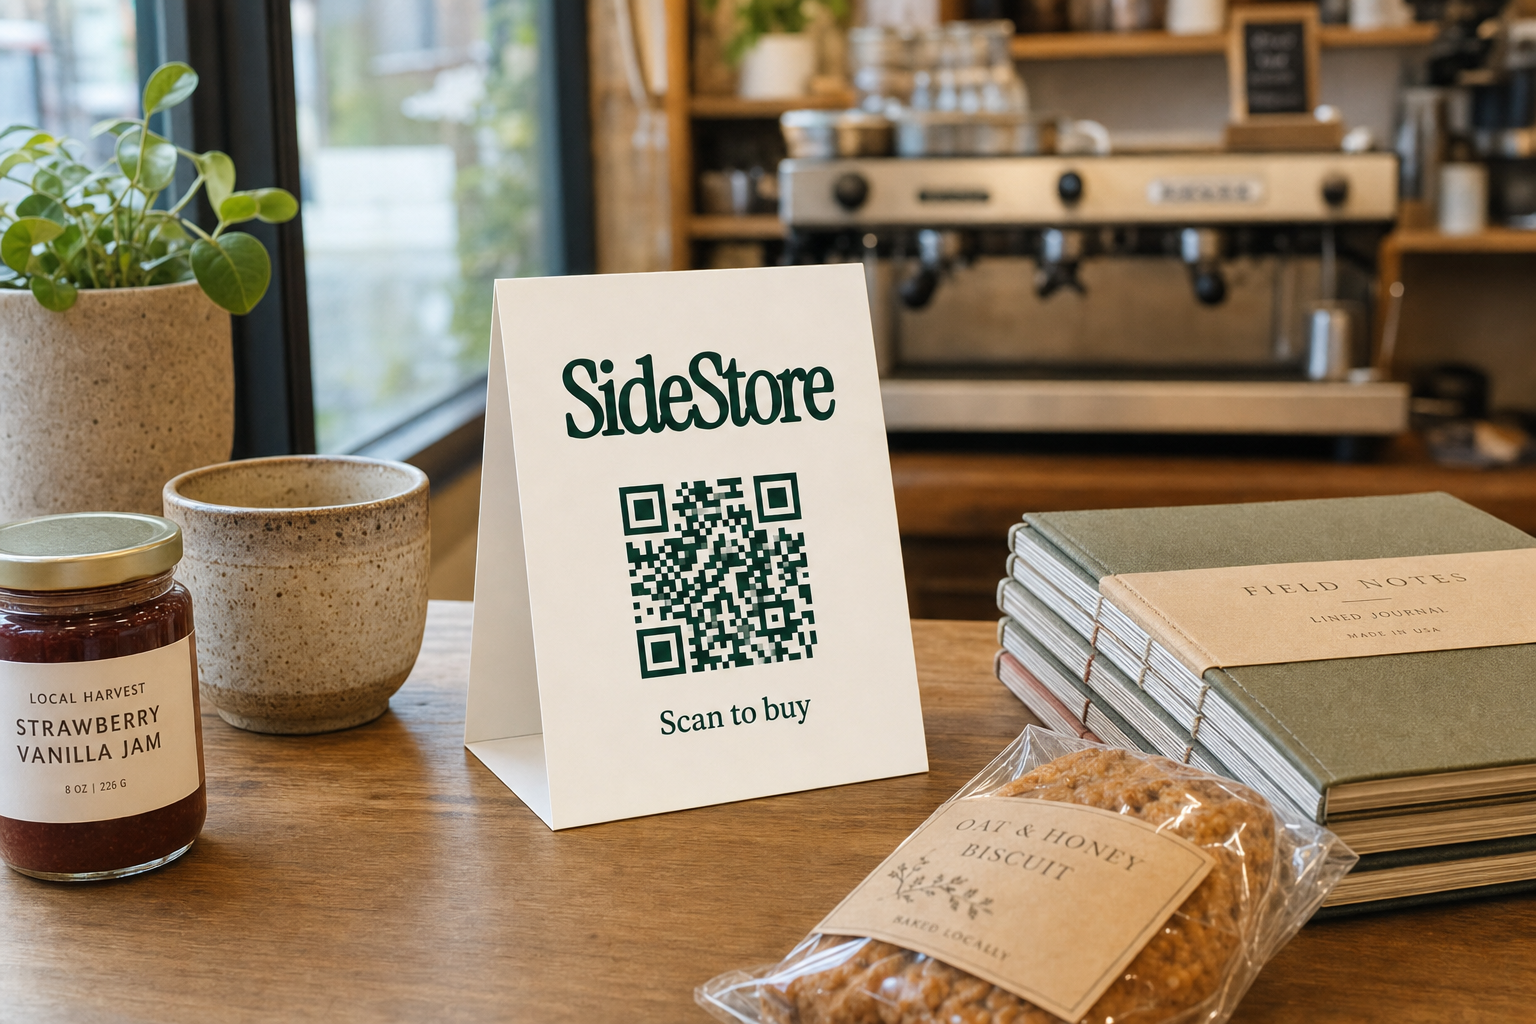
A Retail Widget is one deployable unit that handles everything a physical shop assistant would normally do at the point of sale: checkout, stock monitoring, sales attribution, and payment settlement. You print it, place it beside the products, and it goes to work.
The scan-to-pay mechanic works in three steps.
- A customer picks up a product and scans the QR code on the Retail Widget.
- They complete payment on their phone, no app download, no staff interaction required.
- The transaction is recorded instantly, the split payout is calculated automatically, and both you and the maker receive your respective shares.
That is the entire checkout flow. No till. No card machine handoff. No staff time consumed.
Split payouts happen automatically at the moment of sale. The agreed percentage goes to the maker; your hosting commission goes to you. There is no end-of-month invoice, no manual reconciliation, no chasing. The money moves when the scan happens.
Live stock tracking means you can see current inventory levels for every unused shelf space placement from your SideStore dashboard. When stock runs low, the maker is notified and can replenish. You do not count products by hand. You do not send reminder messages. The system surfaces the information automatically.
Placement attribution ties each sale to its specific shelf location. If the counter-queue Retail Widget consistently outsells the window-ledge one, you know. That data informs which surfaces you prioritise, which products you move, and which placements you charge a higher commission for.
One Retail Widget. Four functions. Fully operational from day one.
4. Structure a Fair Revenue Split With Your Makers
A hosting commission of 20 to 40 percent of the sale price is the realistic working range for most merchant-maker agreements. Where you land within that range depends on your foot traffic, your surface quality, and how much dwell time your space generates.
The core advantage for you as a merchant is absolute: you carry no inventory risk. The maker supplies the products, owns the stock until it sells, and handles replenishment. You provide the surface and the customer flow. That asymmetry justifies your commission even at the lower end of the range.
Before any product goes on your shelf, agree the split in writing. A brief, plain-language document covering the percentage, the payment timing, and the replenishment responsibility is enough. Retail Widgets handle the execution automatically once the split is configured, but the agreement between you and the maker needs to exist before go-live.
Placement attribution gives you a principled basis for tiering your commission rates. A surface at your busiest counter, with guaranteed daily foot traffic and long dwell times, is worth more than a surface near your back exit. If you are hosting multiple makers or managing several surfaces, you can apply different commission rates to different placements, and use the attribution data to justify those differences transparently.
Makers benefit from this clarity too. They can see which of their placements perform, calibrate their stock levels accordingly, and decide whether to expand into your other surfaces or focus on the one that converts.
Fair splits, agreed upfront, prevent every awkward conversation later.
5. Let Your Space Do the Selling, Without Extra Staff Effort
The Retail Widget handles checkout. Your staff do not need to learn a new process, manage a separate till, or explain anything to customers. That is the foundational relief. Once the Widget is placed and the product is on the shelf, your team's involvement is essentially zero.
Three small merchandising actions make a measurable difference without demanding significant time.
Keep the display tidy. A product that is slightly askew or dusty signals neglect. A sixty-second straighten during your normal opening routine is enough.
Face the products forward. Labels visible, QR code unobstructed. Customers should be able to read what it is and scan without repositioning anything.
Place the Retail Widget at the natural scanning height for a standing customer. Eye level for small items, slightly lower for items a customer picks up to examine. The scan should feel obvious, not like a puzzle.
Regulars notice when the shelf changes. A new product, a seasonal swap, a different maker's work, these small updates create something worth mentioning to the person behind them in the queue. That word-of-mouth effect costs you nothing and extends the selling reach of the placement.
Placement attribution closes the loop. Over time, the data tells you which products your customers actually buy, not just which ones look good on the shelf. That knowledge sharpens every future hosting decision.
6. Scale From One Shelf to a Distributed Hosting Network
Your SideStore dashboard manages every active placement in one view, regardless of how many you have. One shelf at one location is the same operational effort as eighteen placements across six locations. The dashboard shows stock levels, scan activity, split payouts, and placement performance across all of them simultaneously.
To make that scale concrete: imagine you started with two shelves in your coffee shop. Both perform consistently. You have a second location, or a maker contact who wants to reach more spaces. You add a shelf at your second site, configure a new Retail Widget, set the split, and it is live. The dashboard updates. No new system. No new staff training. No new process.
That is a distributed retail network, and you are running it from a single screen.
The distributed framing matters because it changes how you think about hosting. You are not just monetising one surface. You are building a network of activated placements, each generating split payouts, each contributing placement attribution data, each serving a slightly different customer segment within your total foot traffic.
Scaling does not require adding operational complexity. It requires the same setup repeated across more surfaces.
Build a 30-day review cycle into your hosting practice from the start. At the end of each month, check which placements generated sales, which makers are replenishing reliably, and which surfaces underperformed. Adjust one variable, product, position, or maker, and run another 30 days. That loop is your growth mechanism.
7. Which Merchant Spaces Work Best for Shelf Hosting
Coffee shops and cafes are the most reliable hosting environments. Customers queue, wait for their order, and linger over drinks. Dwell time is high and predictable. Counter surfaces, collection-point shelves, and seating-area ledges all convert well. The product range is wide: food, drink accessories, ceramics, candles, printed goods, small gifts.
Boutique hotels and bed and breakfasts offer a distinct advantage: guests arrive with a guest-experience mindset. They are looking for something local, something to take home, something the hotel curated specifically for them. Lobby shelves, room welcome trays, and lounge surfaces perform well. The hospitality setting makes product discovery feel like a service, not a sales push.
Independent fashion boutiques and concept stores already have customers in a buying mood. Adding complementary maker products, jewellery, art prints, handmade accessories, extends the basket without requiring separate marketing. Fitting-room waiting areas and register queues are underused hosting surfaces in most boutiques.
High-foot-traffic independents, florists, bookshops, wellness studios, delis, each carry a strong ambient brand that curated maker products can amplify. The hosting commission is a natural addition to their existing revenue mix.
A brief note on chain retailers: larger chains often have procurement constraints, supplier agreements, and compliance requirements that complicate informal hosting arrangements. The model works most cleanly in independently operated spaces where the owner makes decisions without a corporate approval layer.
8. What to Look for When Choosing a Maker to Host
Before you place a product on your shelf, run four quick checks.
a. Product fit. Does the product belong in your space? It should feel like something your customers would already want, not something you are trying to introduce to them cold.
b. Reliable replenishment. A maker who restocks promptly keeps your shelf earning. Ask upfront: how quickly can you replenish when stock runs low? Live stock tracking in SideStore surfaces the alert automatically, but you need a maker who responds to it. A shelf sitting empty for four days is a conversion opportunity lost.
c. Appropriate price point. The product should sit within the impulse-purchase range for your customer base. A 12 CHF lip balm in a wellness studio sells differently than a 200 CHF ceramic piece in a hotel lobby. Both can work, but confirm the price point before you commit a surface to it.
d. A professional presentation. The product's own packaging and labelling should be clear and self-explanatory. Scan-to-pay means no staff are explaining the product. The packaging does that job.
Start with two to three makers at most. That is enough variety to learn what your customers respond to without overcomplicating your first hosting arrangement. Agree the split, the replenishment schedule, and the review date before the first Widget goes up. A short written note covering those three points is all you need.
Getting Started: A One-Week Checklist
Day 1: Walk your space and photograph every viable horizontal surface. Note size, location, and estimated dwell time for each one. Pick your highest-dwell surface to activate first.
Day 2: Identify two to three local makers whose products fit your space and customer profile. Reach out with a brief message explaining the hosting model: you provide the shelf, they provide the products, a Retail Widget handles checkout and splits the revenue.
Day 3: Agree the revenue split and replenishment terms with your chosen maker. Keep the agreement simple and written.
Day 4: Set up your SideStore account and configure your first placement. Enter the product details, set the split percentage, and generate your Retail Widget.
Day 5: Receive the products from your maker and arrange them on the designated surface. Print and place the Retail Widget at scanning height. Confirm the QR code scans correctly on your own phone.
Day 6: Brief your team in one sentence: "There are products on the counter shelf from a local maker, customers scan the QR code to buy. You don't need to do anything."
Day 7: Go live with a Retail Widget. Check the dashboard once. You are live.
Your first 30-day review is the next milestone. By then, you will have real placement attribution data, a replenishment rhythm with your maker, and a clear picture of which surface performs best. That is the foundation for everything that follows.
Your Shelf Is Ready. Make It Earn.
Every surface in your space has a cost. The rent, the fit-out, the daily operation, all of it applies to the shelf behind your counter as much as to the seat by the window. The difference is that the seat earns when a customer sits in it. The shelf earns only when it is activated.
Retail Widgets make that activation practical: one printed interface places and manages a product on consignment, with scan-to-pay checkout as one function alongside live stock tracking, placement attribution, and automatic split payouts. You take your hosting commission at the moment of sale. No staff time, no inventory risk, no manual reconciliation.
Start with one surface. Prove the model. Scale at your own pace, one placement at a time, until you are running a distributed hosting network from a single dashboard. The path from one shelf to many is the same path, repeated.
Make money from unused shelf space. Build a commerce network without opening a store of your own.