Pop-Up Retail Display Ideas: How to Merchandise Products That Sell Themselves
Seven pop-up retail display ideas by fixture type, with setup guidance for clothing, jewellery, and table-based products. Plus how to extend any display into consignment.
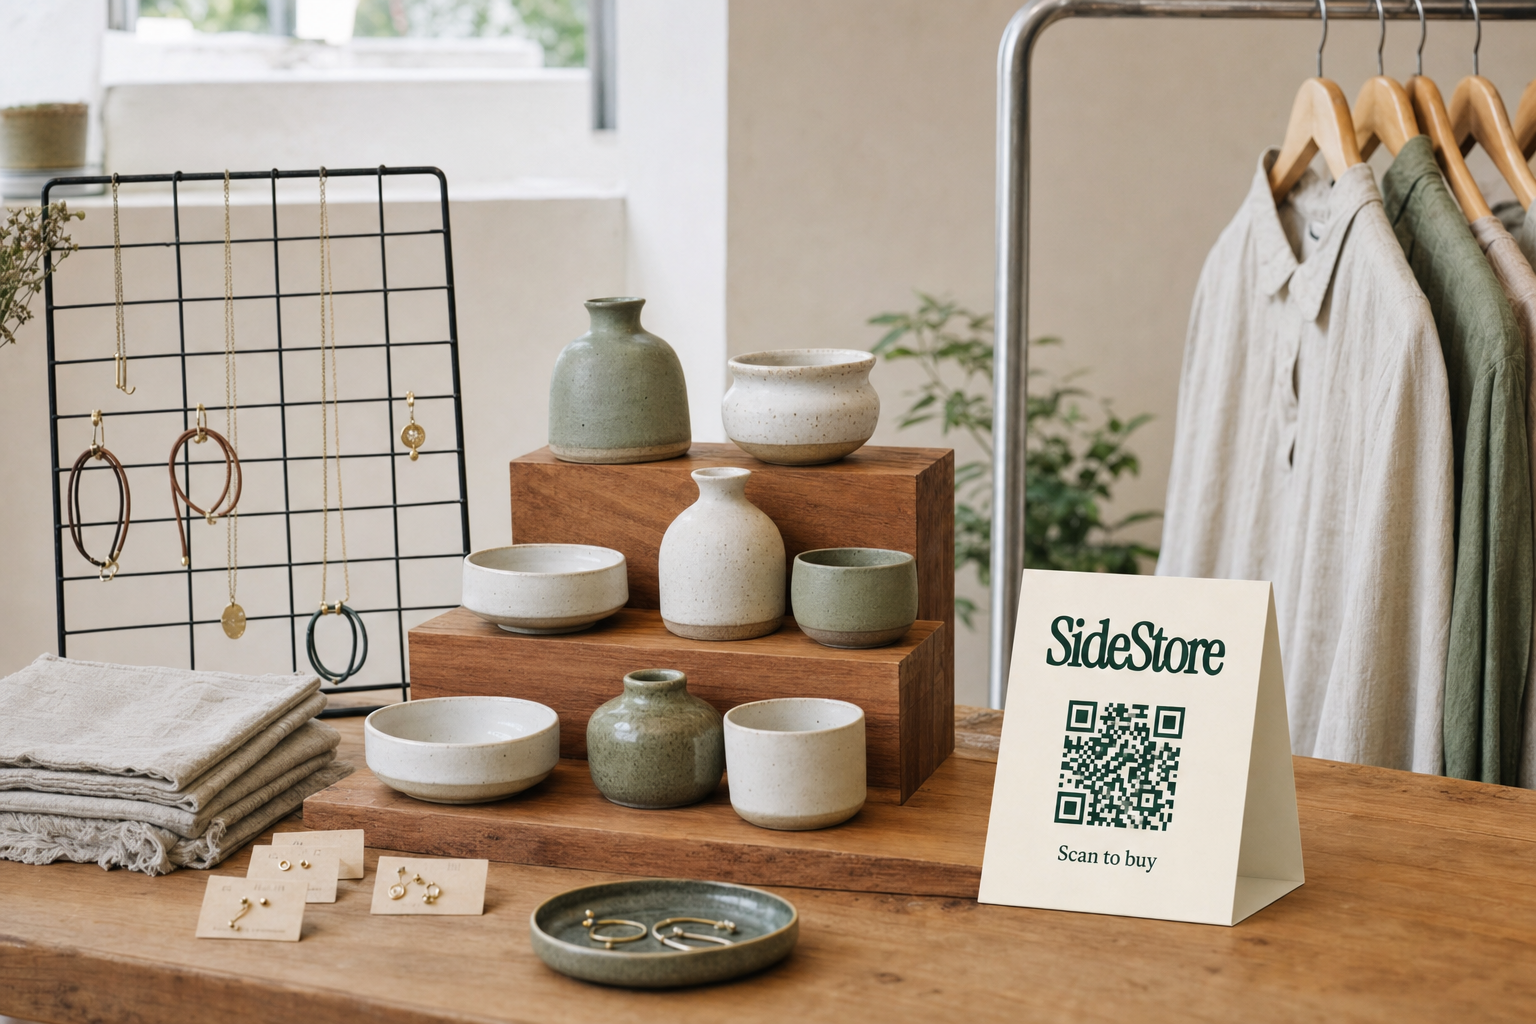
A pop-up retail display is the physical arrangement of fixtures, signage, and product that lets a maker or merchant sell goods in a temporary space without a conventional shop fit-out.
Effective pop-up retail displays share four traits: they draw the eye from a distance, communicate price and brand without a cashier present, let customers handle product naturally, and pack down fast. The fixtures you choose, whether racks, grids, risers, or pegboards, determine all four outcomes. Getting those right matters more than how large your footprint is.
One distinction worth making early: a pop-up shop and a pop-up retail display are not the same thing. A pop-up shop is the event or the space itself. The display is the set of fixtures and systems inside it. Many makers search for one when they need advice on the other. This article focuses on the display: what to use, how to configure it, and how to extend it beyond a single event.
For a broader overview of the event format, see the pop-up retail guide. For layout and aesthetic decisions, the pop-up retail design resource goes deeper on spatial choices.
What Makes a Pop-Up Retail Display Actually Work?
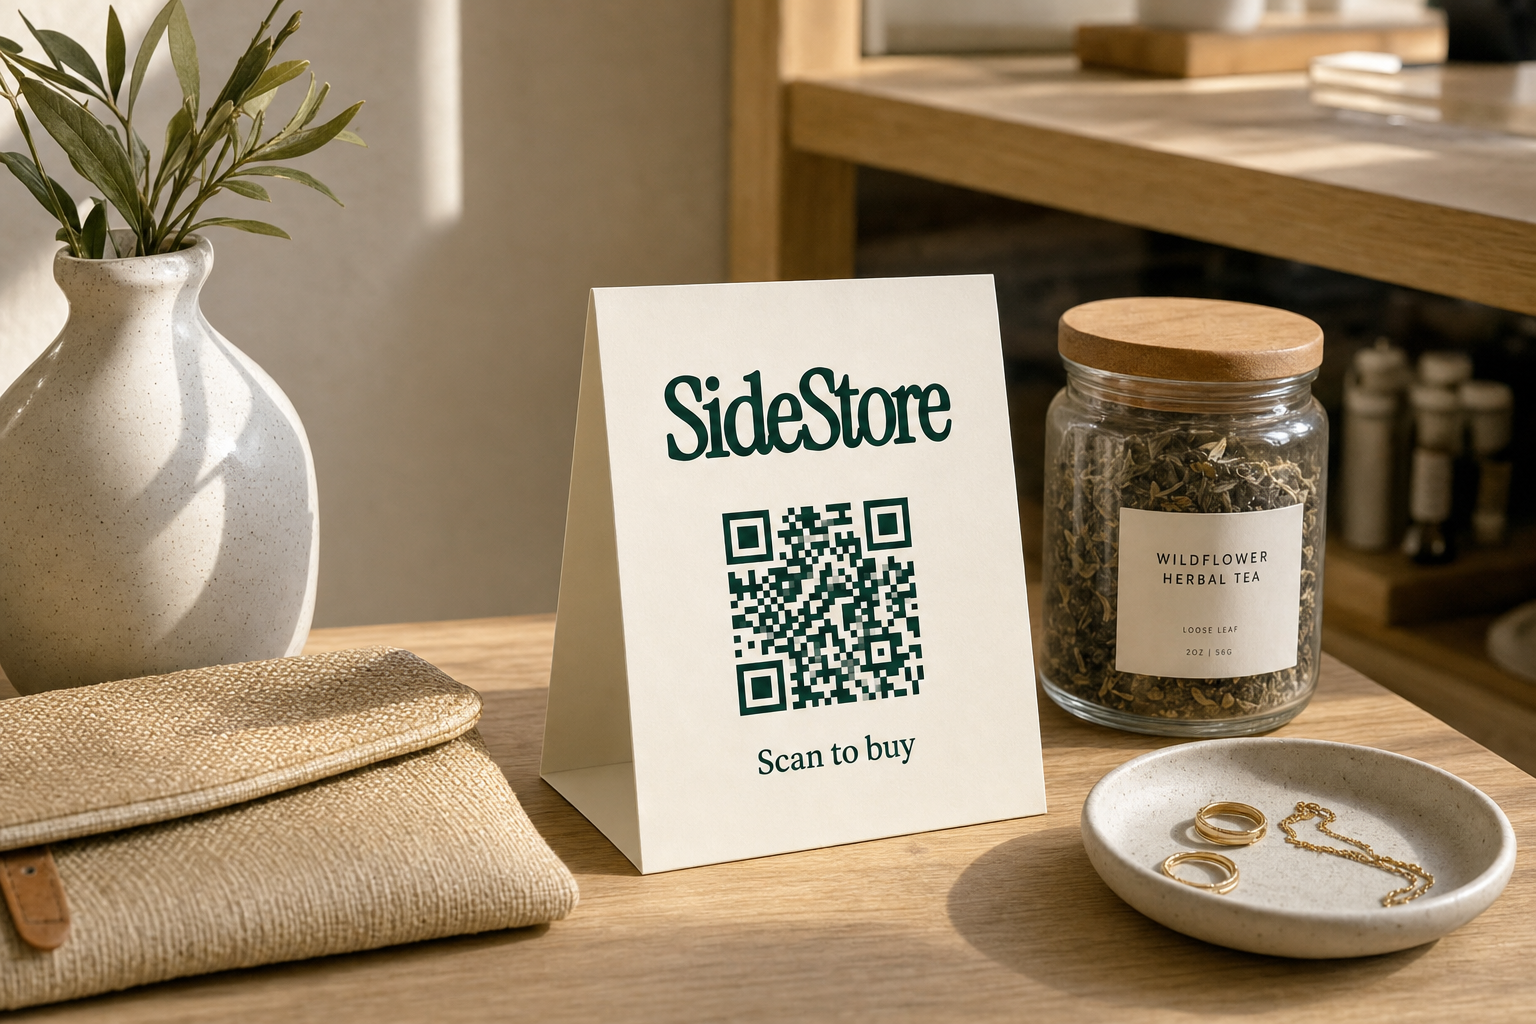
A pop-up retail display works when a customer can understand what you sell, at what price, and how to buy it in under ten seconds, without asking anyone. That is the standard. Every fixture, label, and layout decision should measure against it.
Visual merchandising principles, developed across decades of trade practice, give you a practical framework. Three apply directly to pop-up displays.
Hierarchy. Your best-selling or most visually striking product belongs at eye level, roughly 1.2 to 1.5 metres from the floor. Anything below knee height is effectively invisible at a busy event.
Contrast and breathing room. Overcrowding a display is the single most common mistake makers bring from a market-stall mentality. Customers who cannot easily lift, inspect, or replace a product stop browsing. Leave deliberate gaps between items.
Wayfinding. Your display should guide the customer's eye in a Z or triangle pattern: from a focal piece at the top, down to supporting products, across to a call-to-action (price, QR card, or buy prompt). This is traffic management at a small scale, not decoration.
Plan for what happens when the display has been touched by fifty people. Product that falls, scatters, or loses its arrangement mid-event costs you sales for the rest of the day. Fixtures with lips, hooks, or compartments hold position better than flat surfaces.
For more tactical ideas on making a temporary space productive, see pop-up retail ideas that actually work.
7 Pop-Up Retail Display Ideas by Fixture Type
The right fixture depends on your product category, your footprint, and how quickly you need to set up and break down. The seven fixture types below cover most pop-up retail display scenarios, with direct guidance on what each does well and where it fails.
1. Clothing Rack (Single or Double Rail)
Best for: apparel, scarves, bags, lightweight accessories.
Pros: highly portable (most collapse under a metre and weigh under 8 kg), doubles hanging capacity with a double rail, no tools needed. Cons: provides no surface for folded goods, collapses if overloaded.
A freestanding rolling rack is the most versatile fixture in pop-up retail. Set size dividers and face one or two key pieces outward rather than spine-out. Mistake to avoid: packing the rail so tightly that customers cannot slide hangers. A full-looking rail stops browsing cold.
2. Grid Wall Panel
Best for: jewellery, small accessories, prints, cards, sachets.
Pros: hooks, shelves, and clip-on bins reconfigure in seconds; most adaptable fixture per square metre. Cons: panels are light but awkward to carry without a dedicated bag; looks improvised without a proper stand.
Grid panels (typically 50 x 50 cm wire squares) attach to a freestanding stand or lean against a wall riser. Mistake to avoid: mounting hooks at inconsistent heights, which makes the display look unplanned rather than considered.
3. Folding Display Table with Risers
Best for: ceramics, candles, food products, books, skincare.
Pros: low cost, widely available, portable; risers transform it into a multi-level retail surface. Cons: risers add bulk; flat tables without risers are among the weakest pop-up display choices.
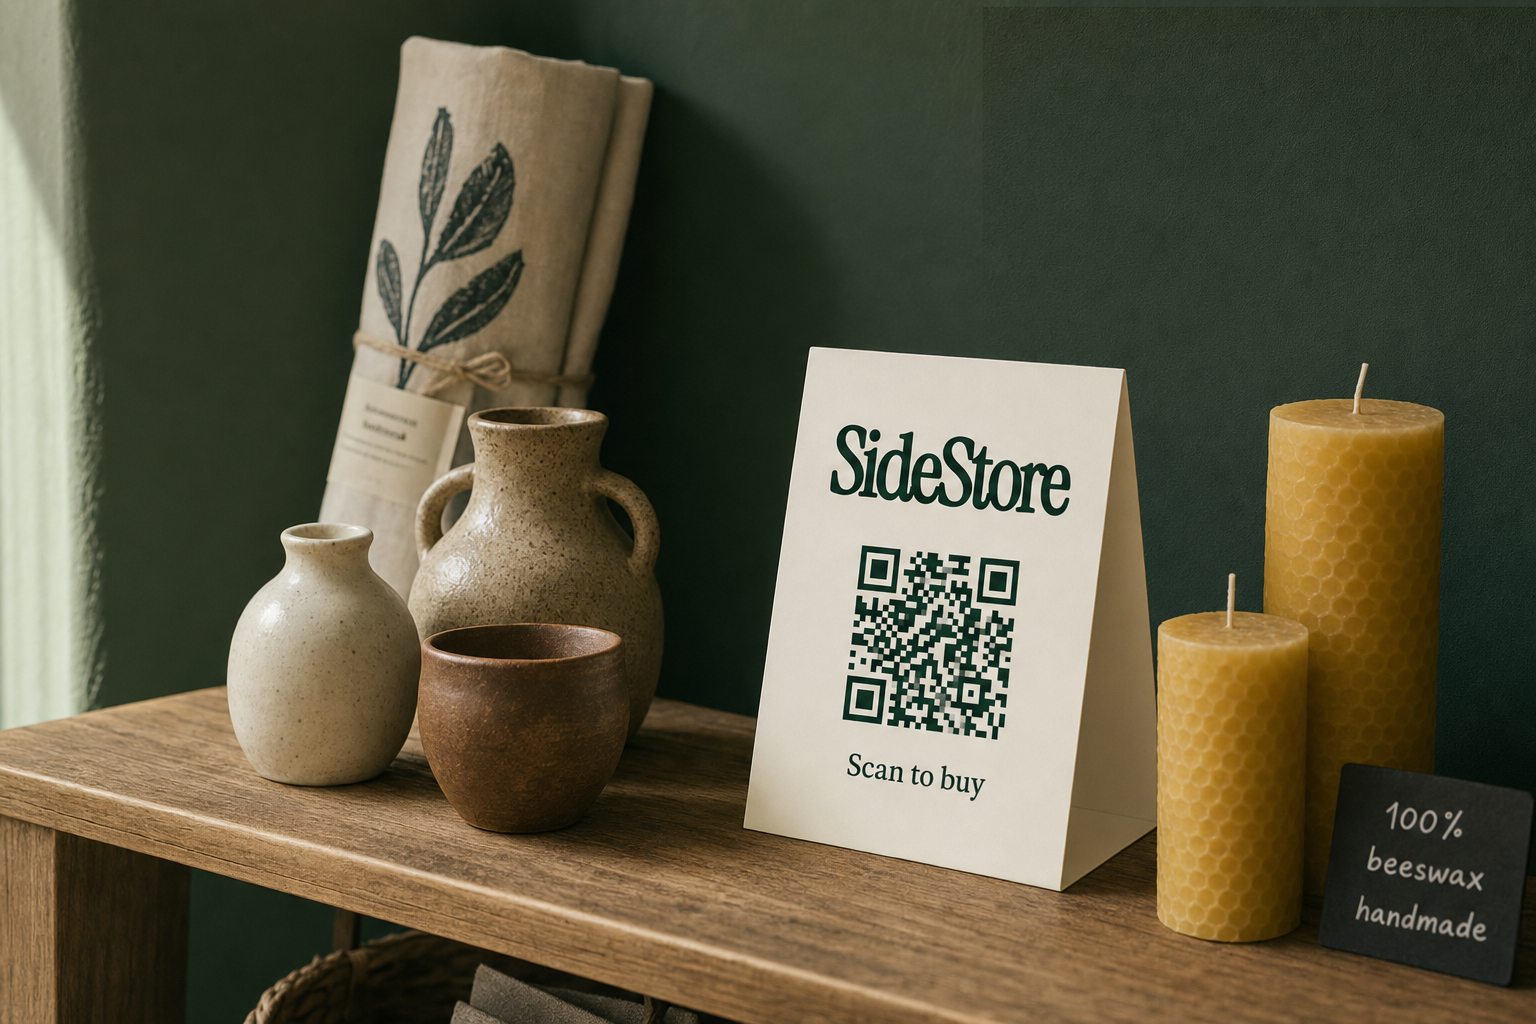
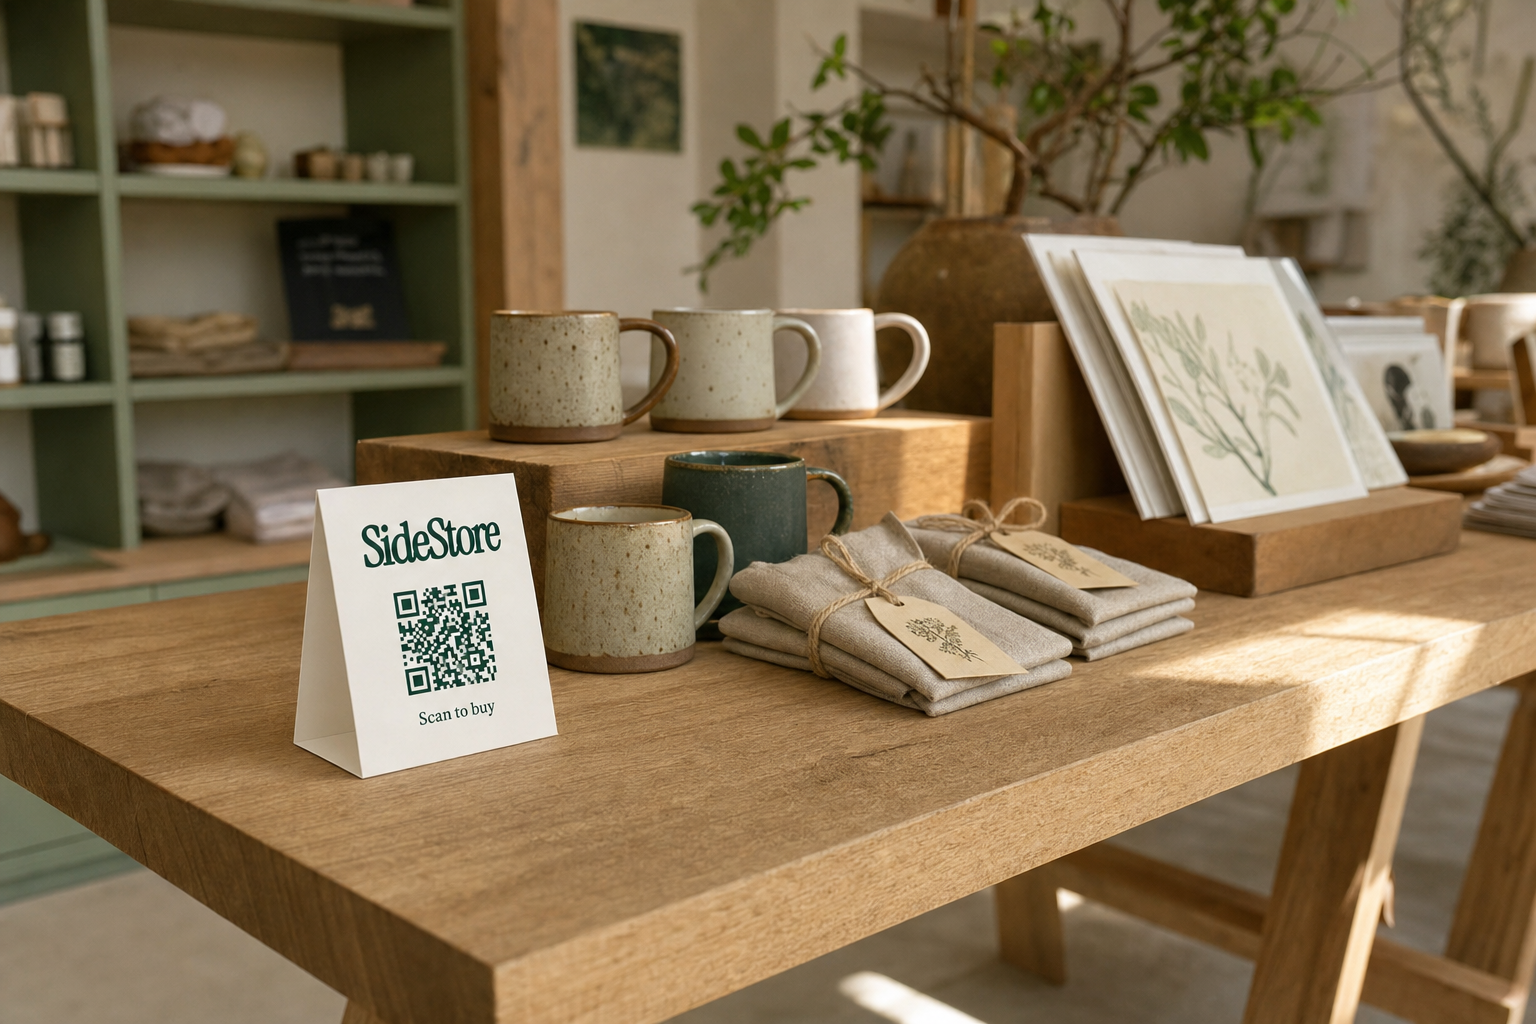
A standard folding table becomes a functional pop-up retail setup when you add tiered risers at two or three distinct levels. Flat table displays are one of the most common errors at pop-up events: everything at the same height reads as a jumble sale, not a retail offer. Mistake to avoid: leaving dead flat space without risers or props.
4. Pegboard Panel
Best for: tools, jewellery, packaged goods, anything with a hang hole.
Pros: holds heavier items than grid panels; fine-grained product spacing. Cons: requires a freestanding frame; setup is slightly slower.
A freestanding pegboard frame, typically 60 x 90 cm, allows fine-grained product spacing. Mistake to avoid: using pegs that are too short for the product depth, causing items to fall when touched.
5. Slatwall or Slatgrid Section
Best for: clothing accessories, footwear, bags, high-margin impulse items.
Pros: projects a more permanent retail feel; holds shelf brackets cleanly. Cons: heavier and less portable than grid panels; requires a vehicle for transport.
Slatwall sections suit makers who attend recurring markets or hold a semi-permanent placement in a merchant space. Mistake to avoid: bringing slatwall to a venue that has no power or anchor point for stabilising the backing unit.
6. Bust Form or Mannequin
Best for: clothing, jewellery, hats, scarves.
Pros: communicates fit and styling instantly; tabletop forms are highly portable. Cons: full mannequins are not portable; only suited to items available to purchase at the event.
Even one bust form at the front of your display increases perceived value. Mistake to avoid: displaying an item on a bust that is not actually for sale at that event.
7. Acrylic or Tiered Countertop Display
Best for: jewellery, small ceramics, perfume, cards, confectionery.
Pros: compact, lightweight, easy to wipe clean, no assembly tools. Cons: limited capacity; mixing too many product categories on one unit signals confusion rather than curation.
Countertop acrylic risers and rotating towers work on any flat surface. Mistake to avoid: crowding multiple unrelated categories onto a single countertop unit.
For the design principles behind choosing and arranging these fixtures, see pop-up retail design principles. If you are also sourcing the space itself, renting a pop-up retail space covers venue options and costs.
How to Display Clothing, Jewellery, and Table-Based Products in a Pop-Up Shop
Category shapes display. The right fixture for a candle is wrong for a dress and useless for a ring. Here is direct guidance for the three most common product categories at pop-up retail events.
Clothing
Hang everything you can. Folded clothing on a table is a last resort, not a strategy. A double-rail rack with size-sorted garments, one or two pieces faced outward, and a height-appropriate mirror nearby will consistently outperform a table stack.
If floor space is tight, prioritise the single rail and use the table behind it for folded basics, accessories, or lookbook imagery. Colour-block within each rail section: grouping by colour rather than size creates a visual rhythm customers navigate intuitively. Avoid wire hangers; they distort garment shoulders and signal a price point your product may not deserve.
Jewellery
Jewellery needs elevation and separation. A flat tray of pieces at table height gets overlooked; the same pieces on a tiered bust form or grid panel at eye level invite handling.
For rings and earrings, velvet-lined trays with individual slots prevent tangling and allow customers to lift items cleanly. For necklaces, a grid panel with individual hooks at varying heights displays length and layering options at a glance. Lighting matters more here than in any other category: a small clip-on LED lamp directed at the display makes metal and stone catch light in ways that overhead venue lighting rarely achieves.
For makers planning to move beyond events into boutique placement, see selling handmade jewellery in boutiques for long-term channel strategy.
Table-Based Goods (Ceramics, Candles, Food, Skincare)
Table-based products live and die by height variation and tactile invitation. Build risers at three distinct levels: low (15 cm), mid (30 cm), and high (45 cm or more). Place your most visually striking product at the highest point as an anchor, then work downward.
For food and skincare, tester units are essential. A sealed product with no means of evaluation relies entirely on packaging to sell. A small tester with a handwritten note, "try me", converts browsers. Refresh testers regularly: a depleted or messy tester signals neglect, not craft.
Common Display Mistakes Worth Knowing Before Your First Event
Makers who exhibit for the first time tend to share the same set of errors. Avoiding them costs nothing.
- Flat surfaces everywhere. No risers, no height variation, no focal point. The fix is simple: three riser levels, one anchor product at the top.
- Overcrowded fixtures. More product visible does not mean more product sold. Customers who cannot easily pick something up put it down permanently.
- No individual pricing. A single price list at the edge of a display is nearly always missed. Price each item or group clearly, adjacent to the product.
- Unattended display with no checkout path. If you step away, sales stop unless you have a scan-to-pay QR card in place. Customers rarely wait.
- Wire hangers on quality garments. Distorted shoulders undermine the perceived value of work you have put real effort into. Wooden or velvet-coated hangers cost little and signal care.
Signage, Pricing, and the Checkout Moment
Signage earns its place when it answers the customer's question before they have to ask it. Every display needs three layers: brand identification, product information, and price. Missing any one of them slows or stops the sale.
Brand signage sits highest, visible from 3 to 4 metres. A printed banner, a foam board, or a well-designed A4 card in a frame all work. It tells the customer whose products these are and sets a tone.
Product information sits at mid-height, adjacent to the relevant item. Material, size, care instructions, or origin: whatever your customer needs to feel confident. Keep it to three or four words where possible. Prose descriptions require the customer to stop and read; most will not.
Pricing belongs directly on or beside each product, not on a single master price list at the edge of the display. Customers who must hunt for a price often leave without asking. Clear, individual pricing removes friction and preserves your time.
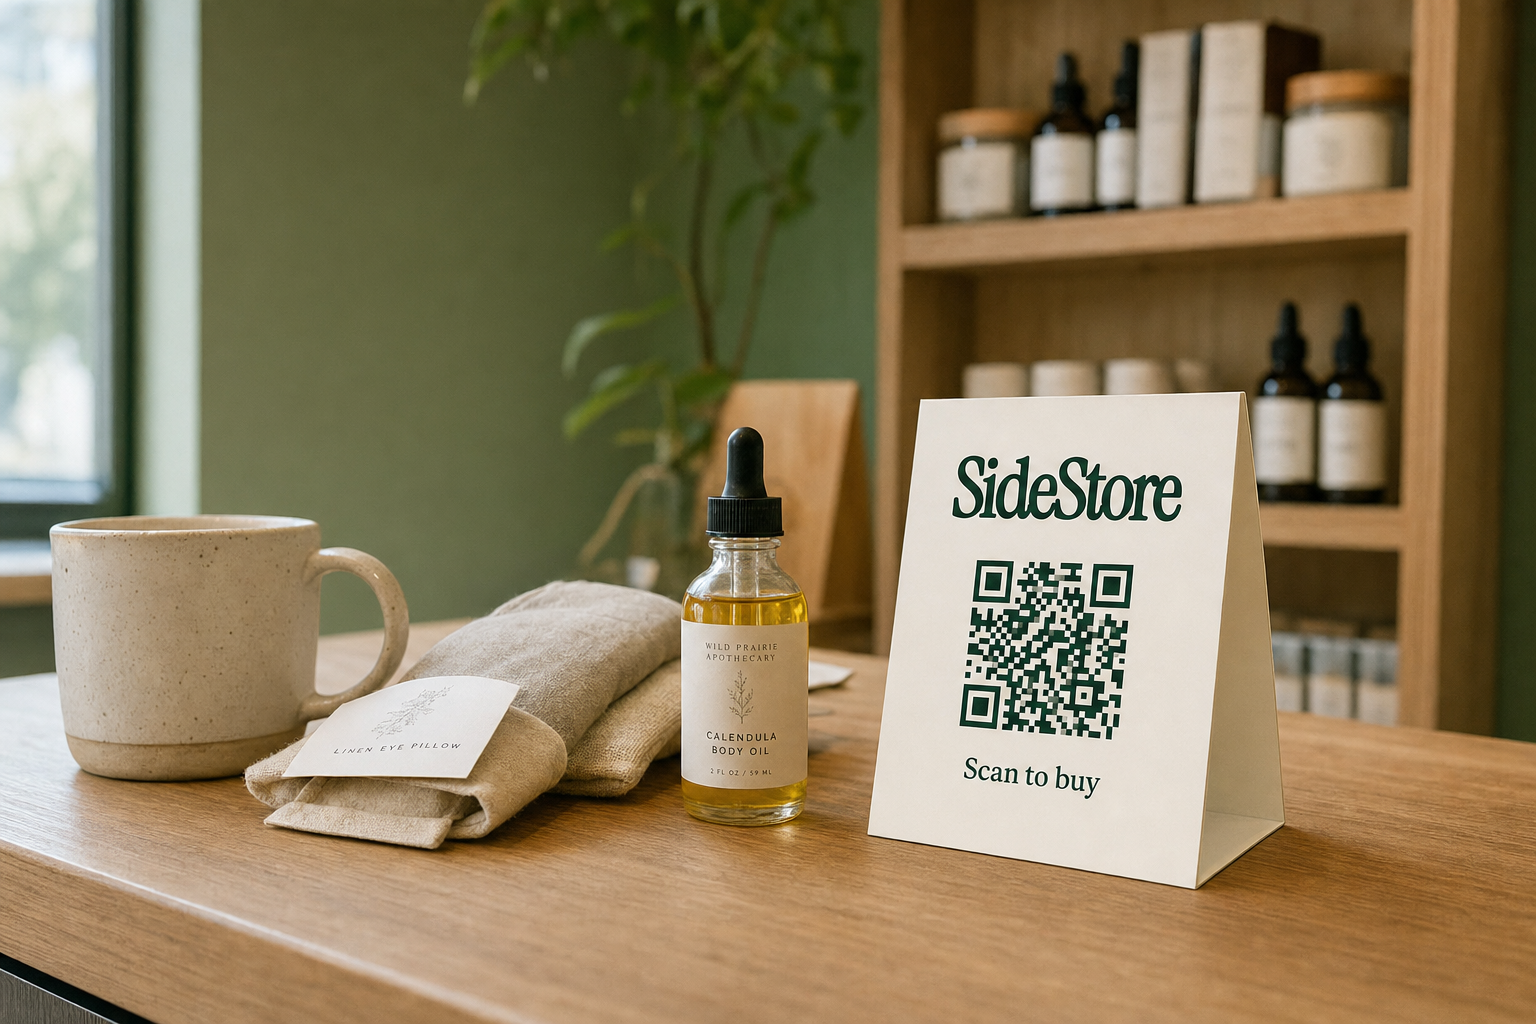
The checkout moment is where many pop-up displays fail quietly. If you are running a solo display, unattended or partially attended, a QR code card placed prominently on the display allows customers to pay without waiting. This is the scan-to-pay function of the SideStore Retail Widget: a printable QR card you attach to your display or individual products, directing customers to a live-inventory checkout. The QR checkout is one function of the Retail Widget, which also handles stock tracking, placement attribution, and automatic split payouts. It is a consignment management interface, not just a payment tool.
For makers who also manage ongoing placements in merchant spaces, consignment inventory software covers the broader tools available.
Where to Rent or Buy Pop-Up Retail Display Fixtures
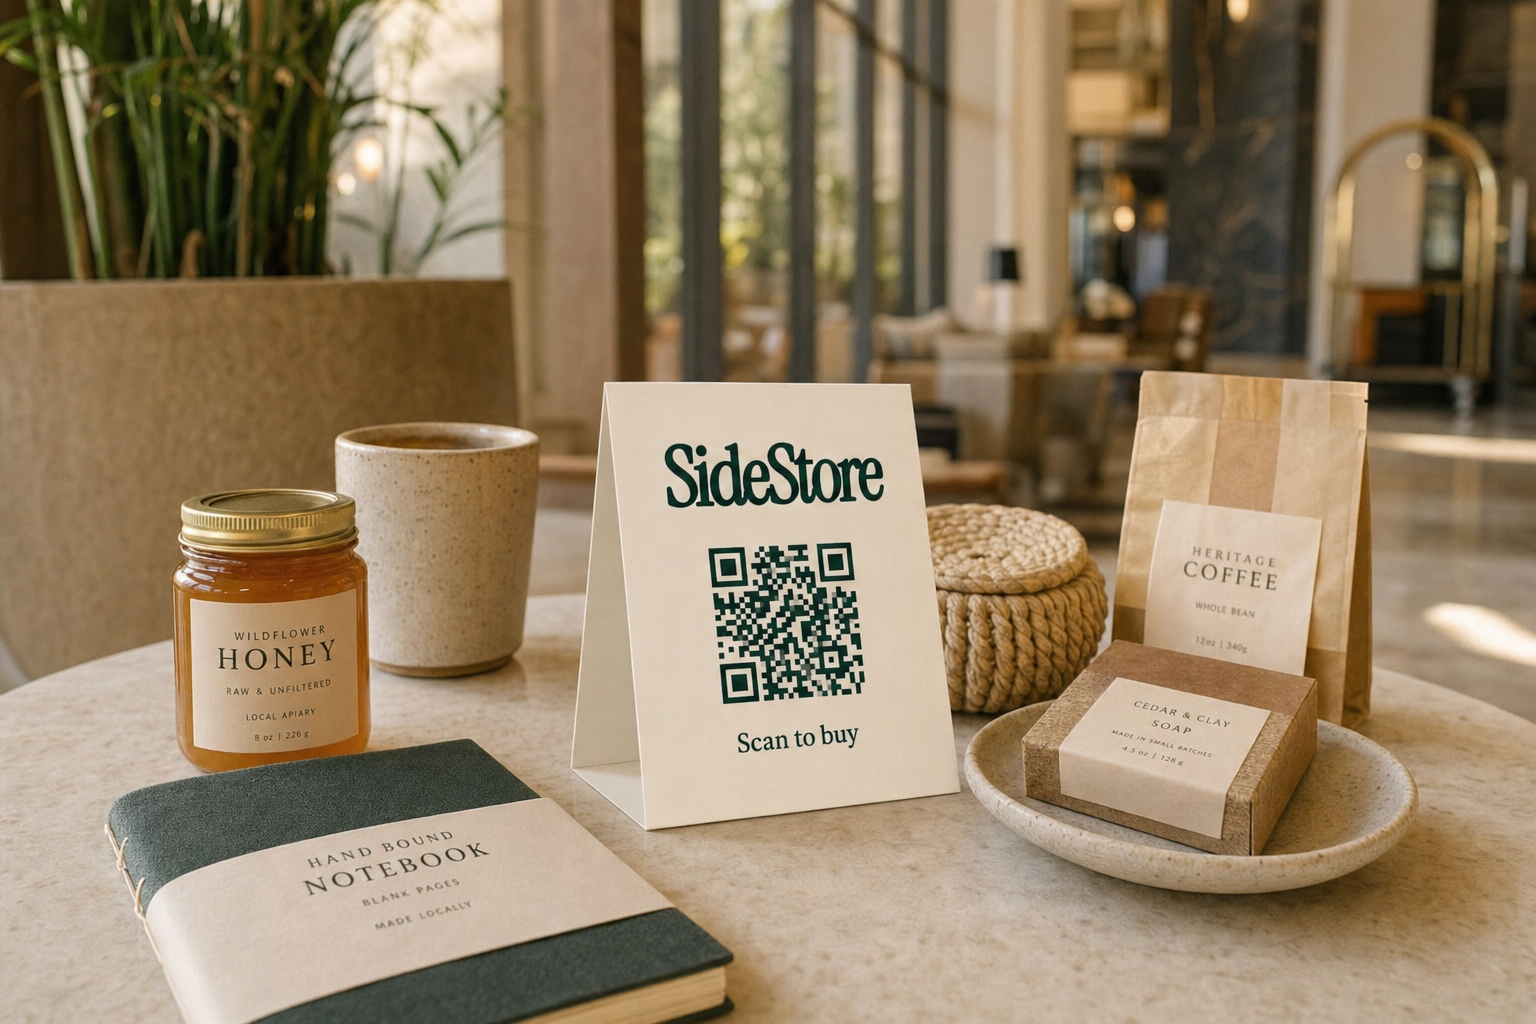
You can rent or buy pop-up retail display fixtures through several channels. The right choice depends on how frequently you exhibit and how much storage space you have.
Renting makes sense for first-time exhibitors or low-frequency events. Event hire companies in most cities carry clothing racks, grid panels, folding tables, and countertop display systems. Many pop-up market organisers also maintain a pool of shared fixtures available to vendors for a daily fee; worth asking when you book your pitch.
Buying makes financial sense once you are attending three or more events per year. Per-event hire costs accumulate quickly, and ownership gives you control over display consistency. Clothing racks, grid panels, and folding tables are available through visual merchandising suppliers, trade display companies, and general wholesale retailers. Acrylic countertop displays are widely available through online trade suppliers at lower cost than full fixture hire.
Second-hand is underrated. Retail closures regularly release quality fixture stock at significant discounts. Trade auction houses, online marketplaces for commercial equipment, and retail liquidators are worth monitoring, particularly for grid panels and slatwall sections that hold their function regardless of age.
What Does It Actually Cost?
Costs vary by region and supplier, but the ranges below reflect common market rates for new fixtures purchased outright.
| Fixture | Typical Buy Price (new) | Typical Hire Price (per event) |
|---|---|---|
| Clothing rack (single rail) | £40, £90 | £15, £35 |
| Grid wall panel + stand | £30, £70 | £10, £25 |
| Folding table | £25, £60 | £10, £20 |
| Pegboard frame (60x90 cm) | £35, £80 | £12, £28 |
| Tabletop bust form | £15, £40 | £8, £18 |
| Acrylic countertop riser set | £20, £55 | £8, £20 |
Category-level costs are covered in the full pop-up retail cost breakdown. If you are sourcing a venue alongside your fixtures, pop-up retail space for rent covers options and typical terms.
Pop-Up Display Fixtures at a Glance: A Comparison
Use this table to compare fixture types at a glance before committing to a setup. Portability ratings assume one person loading a standard hatchback.
| Fixture | Best For | Portability | Solo Setup Time | Approx. Cost Range |
|---|---|---|---|---|
| Clothing rack (single rail) | Apparel, scarves, bags | High | 5, 10 minutes | Low, mid |
| Grid wall panel | Jewellery, accessories, prints | Moderate | 10, 15 minutes | Low, mid |
| Folding table with risers | Ceramics, candles, food, skincare | High | 10 minutes | Low |
| Pegboard panel | Packaged goods, jewellery, tools | Moderate | 10, 15 minutes | Low, mid |
| Slatwall section | Accessories, bags, footwear | Low | 15, 20 minutes | Mid, high |
| Bust form / mannequin | Clothing, jewellery, hats | High (tabletop) | 2, 5 minutes | Low, mid |
| Acrylic countertop display | Jewellery, confectionery, cards | Very high | Under 5 minutes | Low |
Cost ranges are general. Specific pricing varies by supplier, region, and whether you rent or buy.
Beyond the Pop-Up: Turning a Temporary Display Into Ongoing Consignment Placement
A successful pop-up display proves something concrete: this product sells in a real-world environment. That proof is the starting point for a longer conversation with any merchant whose space you have used, borrowed, or rented. You already know the product works in situ. The question is whether the merchant will host it on an ongoing basis.
Consignment is the natural structure for that conversation. You leave product in the merchant's space; they display it using some version of the fixture logic you have already tested; they earn a percentage of each sale; you earn the rest. No upfront cost to the merchant. No inventory purchase required. For makers who are not yet well established, this is one of the most practical ways to build offline distribution without fixed premises costs.
The SideStore Retail Widget makes this transition operational. Where your pop-up display used a QR card for scan-to-pay checkout, an ongoing consignment placement uses the full Retail Widget: live stock tracking so you know what has sold without visiting the space, placement attribution so you know which merchant location is performing, and automatic split payouts so both you and the host are settled without manual invoicing. The Widget is a consignment management interface; the QR checkout is one of its functions.
To start those conversations, how to approach a local shop about stocking your products gives you a practical framework. Before you formalise an arrangement, consignment agreement for artists covers the terms worth agreeing in writing. For the broader model of distributing through other people's spaces, selling through someone else's store is a useful next step.
Frequently Asked Questions About Pop-Up Retail Displays
What are the most effective pop-up retail display ideas?
The most effective pop-up retail display ideas centre on height variation, clear pricing, and deliberate spacing. Use tiered risers on flat tables, hang clothing rather than folding it, and leave gaps between products so customers can handle items without disrupting the whole display. A QR code card for scan-to-pay checkout removes the need for a staffed till and keeps sales moving when you step away.
What is the difference between a pop-up shop and a pop-up retail display?
A pop-up shop is the event or the temporary venue: the location, the dates, the marketing. A pop-up retail display is the physical fixture system inside that space, the racks, grids, risers, and signage that present product to customers. Sourcing a venue and sourcing fixtures are two completely separate tasks with different suppliers and lead times.
Where can pop-up retail displays be rented rather than purchased?
Event furniture hire companies, retail display specialists, and pop-up market organisers are the primary rental sources. Many market operators maintain a shared fixture pool for vendors. Search locally for event hire or retail display hire, and ask your market organiser whether vendor fixtures are available at the venue.
What types of stands work best for pop-up shop displays?
Freestanding clothing racks, grid wall panel stands, and folding table risers suit most pop-up contexts. For jewellery and small accessories, a grid panel stand with hooks and a tabletop bust form cover most needs. Choose stands that one person can set up in under fifteen minutes without tools.
How should jewellery be displayed at a pop-up event?
Grid panels with individual hooks, velvet-lined ring and earring trays, and tabletop bust forms are the most effective options. Add a directed LED lamp to create catch-light on metal and stone. Separate pieces so customers can lift individual items without disturbing the rest of the display. Elevation matters: jewellery at eye level sells; jewellery at table height is overlooked.
What display solutions work for table-based products like ceramics and candles?
A folding table paired with wooden or acrylic risers at two or three height levels is the standard approach. Crates, chopping blocks, and stacked books work as low-cost riser alternatives. The key is avoiding a flat surface at uniform height, which reduces visual interest and reads as a market stall rather than a retail offer. For food and skincare, add a clearly labelled tester unit.
How does a scan-to-pay QR card fit into a pop-up retail display?
A scan-to-pay QR card, printed using the SideStore Retail Widget, allows customers to complete a purchase directly from your display without waiting for assistance. It connects to live inventory and handles checkout. You can attach the card to individual products or display a single card for the full placement. This is one function of the Retail Widget, which also manages stock tracking, placement attribution, and automatic split payouts. For makers managing placements across multiple merchant spaces, see consignment inventory software and how shared retail networks support local economies.