How Local Makers Can Sell Products Without Opening a Retail Store
A warm, practical guide for independent makers who want their products in the real world without the cost and risk of a shop. Learn how consignment placement, the Retail Widget, scan-to-pay checkout, and split payouts let you sell across multiple merchant spaces from one dashboard.
You make something with your hands, and you know it is good. People tell you so at every market you carry it to. What you do not have is an easy way to get it in front of those same people for the rest of the week. The obvious route, opening your own shop, is the one thing you cannot justify: a lease, a fit-out, and someone behind a counter every day is a wall of fixed cost stacked in front of a business that is still finding its feet. If that is where you are, you are not doing anything wrong. The traditional retail model was simply never built for makers at your stage.
There is another way in, and it does not ask you to sign a lease or gamble your savings. It is called consignment. You place your products in a shop or venue that already has customers, and you get paid when they sell. There is no upfront cost to the host, no inventory sitting in a space you are renting, and no daily commute to restock. That is the model SideStore is built around.
SideStore lets you place your products inside existing merchant spaces, cafes, boutiques, hotels, and any retailer with unused shelf space in merchant locations, without owning or renting any of that space yourself. The tool that makes this work is the Retail Widget: the interface you use to place a product on consignment and manage it once it is live. From the Widget you set up the product, generate a scan-to-pay checkout your customer can use on the spot, watch your stock move in real time, see which location drove each sale, and receive your split payout automatically. Scan-to-pay is one function of the Widget, not the whole of it. The Widget is how you run a placement end to end, from first setup to steady sales.
No lease. No counter staff. No daily commute to restock.
This guide is written for you, the maker who is ready for offline distribution but not for a storefront. It covers why traditional retail fails most independent makers, what consignment commerce actually is, how to choose your first merchant spaces, how to set up a placement in five steps, and how to manage stock and scale across locations from one dashboard.
Why Traditional Retail Does Not Work for Most Independent Makers
It helps to name the thing you are up against, because the problem is structural, not personal. Traditional retail carries three cost categories that crush small-volume makers before they can build any momentum.
Fixed occupancy costs. A retail lease in a city center means monthly rent whether you sell ten units or ten thousand. Add fit-out, signage, utilities, and insurance and you are paying a significant baseline before a single customer walks in. That baseline does not flex with your sales volume.
Staffing costs. A physical store needs someone present during opening hours. Even a modest part-time arrangement adds payroll, scheduling, and management. For a solo maker, it often means the cruelest trade of all: you stop making in order to sell.
Inventory risk. Stocking a store requires committing capital to product upfront. If a line moves slowly or a trend shifts, that capital is tied up on shelves. Clearance pricing eats your margin. Returns add complexity you did not ask for.
Beyond the numbers, the operational weight is disproportionate. You spend your energy managing a space instead of refining your product. Retail staff turnover is high. Landlords ask for long lease terms that lock you into a fixed geography even when demand moves somewhere else.
Here is the part worth holding onto: independent makers are not failing at retail because their products are weak. They are held back because the retail model was built for businesses with capital reserves, established supply chains, and teams. A solo ceramicist, a small-batch candle maker, or an independent jeweller has none of those buffers.
Recognizing that mismatch is not an excuse to stay off the high street. It is the starting point for choosing a distribution model that actually fits your life. If you have leaned on weekend markets as your main sales channel, the same limit applies there: you only sell when you are physically standing behind the table.
What Consignment Commerce Is and How It Works
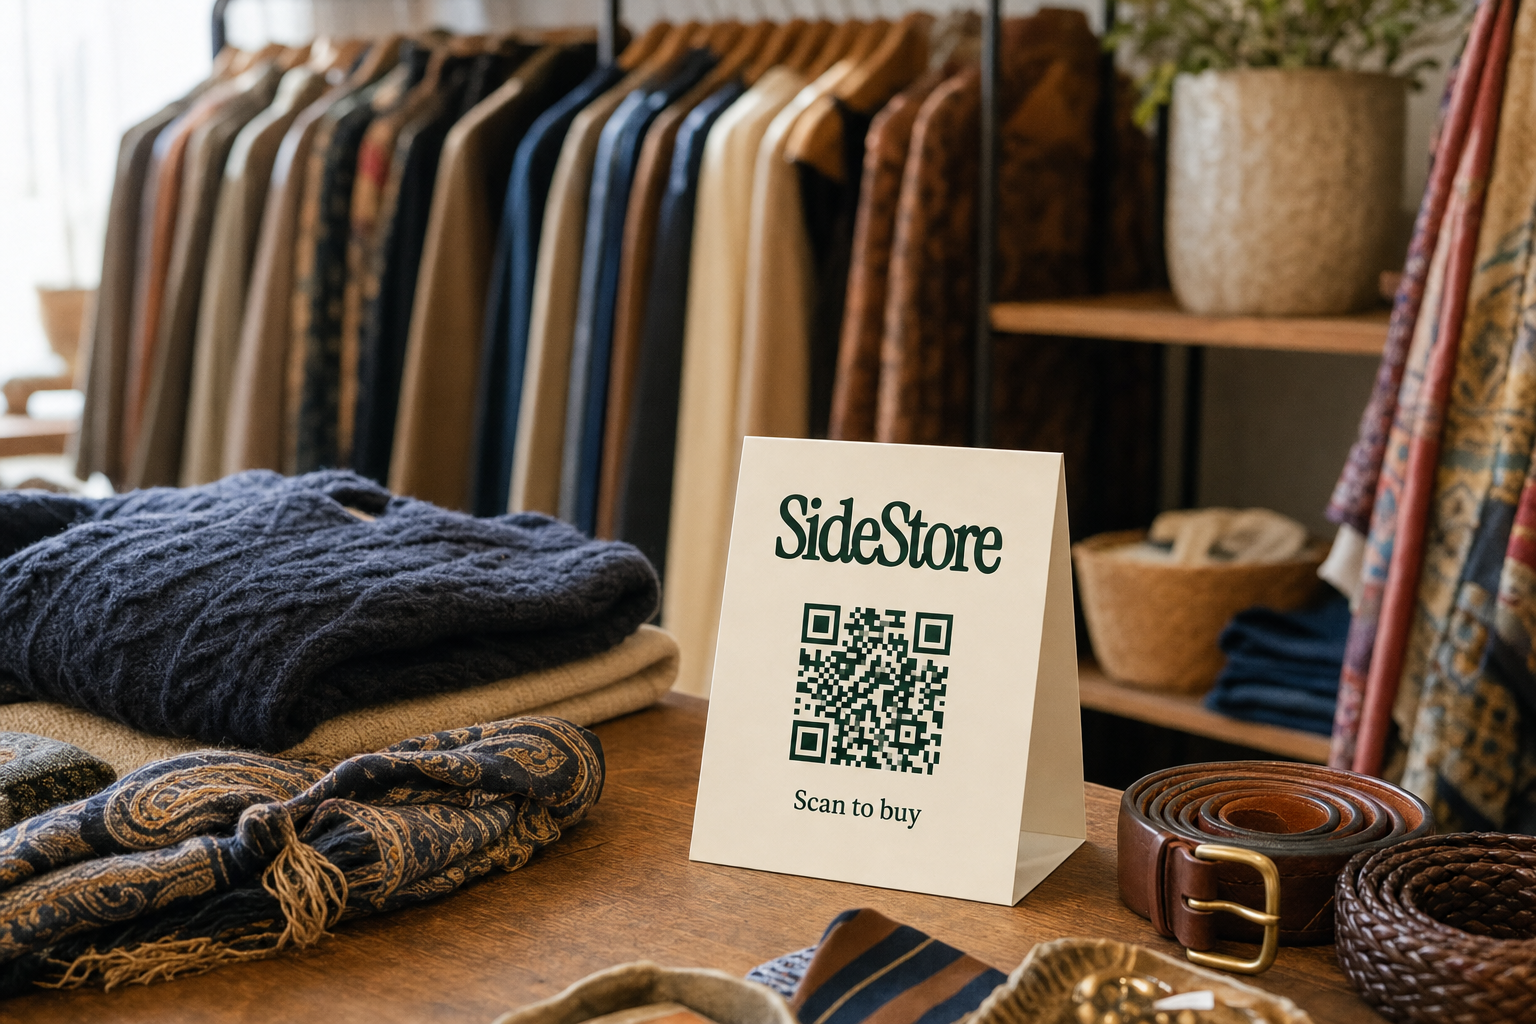
Consignment commerce is a distribution model in which independent makers sell physical products inside third-party merchant spaces, using self-contained checkout technology, without owning, leasing, or staffing any retail space themselves. In plain terms: your product lives on someone else's shelf, and you get paid when it sells.
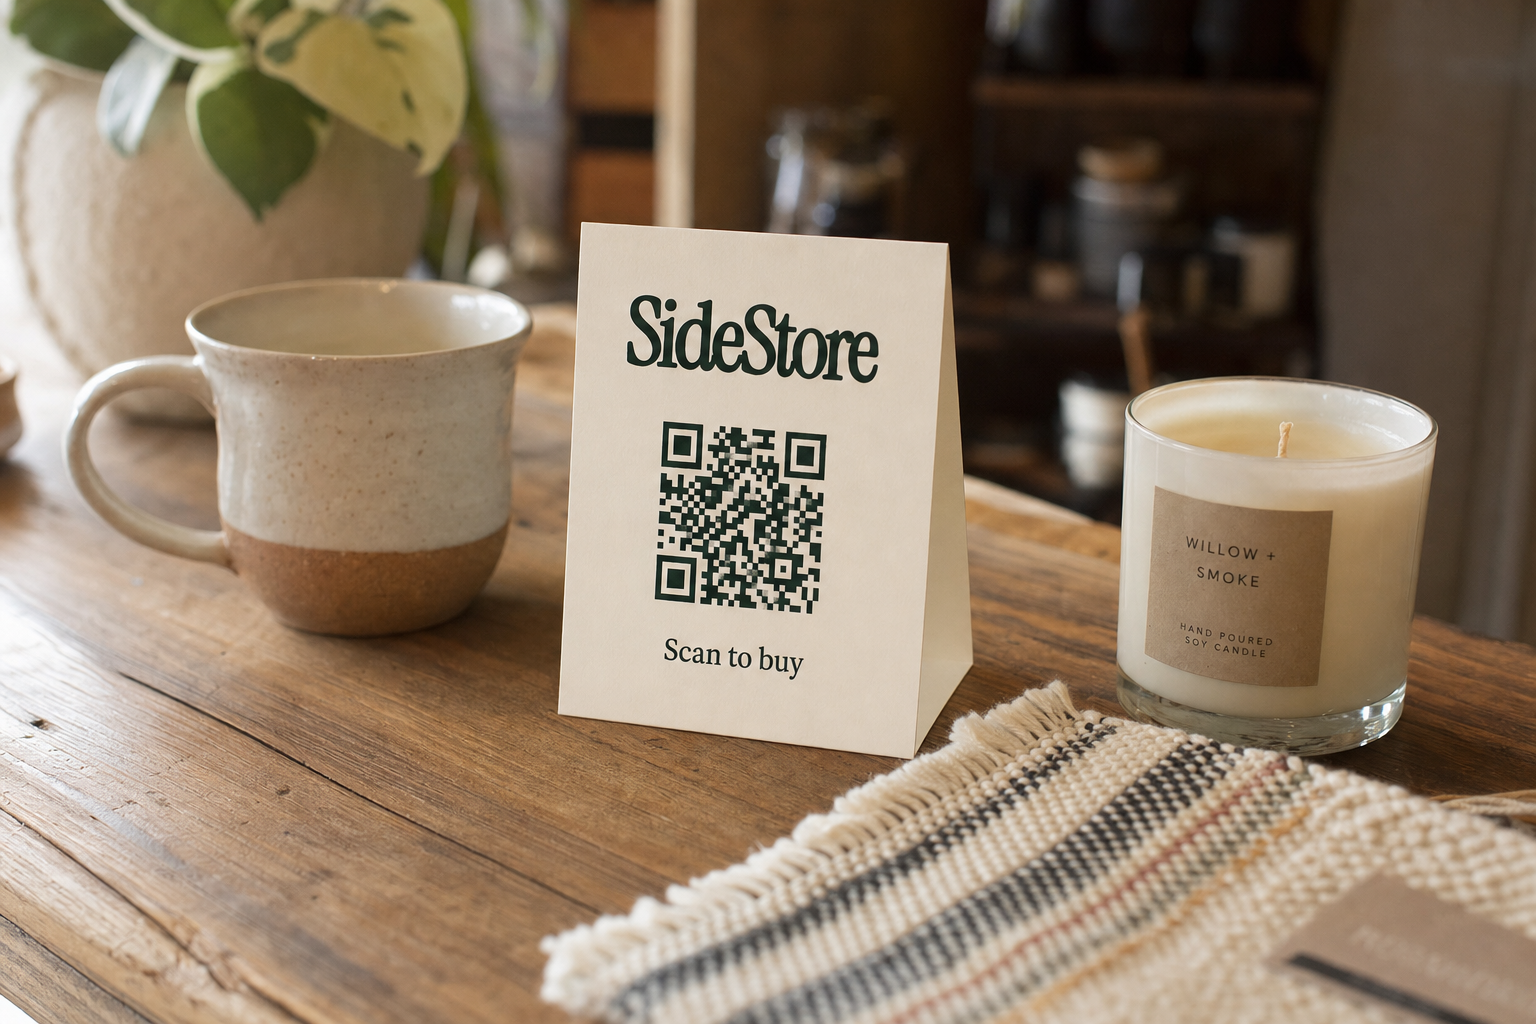
The interface that runs each placement is the Retail Widget. You create it in SideStore, and it stays tied to your product, your split, and the specific location it is placed in. It handles checkout through a printable scan-to-pay QR, tracks your live stock, attributes each sale to its location, and routes split payouts to you and the host. Think of it less as a piece of paper on a shelf and more as the control panel for that placement.
For the customer, the purchase flow is simple, and that simplicity is the point:
- Scan. A customer picks up your product, sees the QR code on the Retail Widget, and scans it with their phone.
- Pay. They complete a scan-to-pay transaction directly through the Widget. No app to download, no cashier to find.
- Confirm. Stock updates automatically in your SideStore dashboard, and the split payout routes to both you and the host merchant straight away.
The merchant's role is passive by design, and that is what makes hosts say yes. They display your product and the Retail Widget in their space. They do not handle transactions, manage stock, or chase payments. The Widget does all of that. This is exactly how cafes earn from hosting local products and how boutiques add local products without buying inventory without taking on any operational burden.
From your dashboard, you see every placement in one view: live stock levels per location, scan-to-pay transaction history, and placement attribution that shows which location drove each sale. The dashboard is your store. The merchant spaces are your shelves. You just never have to sweep the floor.
Which Merchant Spaces to Target for Your First Placements
Choosing the right host determines whether your Retail Widget sits in front of the right customer or collects dust on an unnoticed shelf. You do not need a big network to start. You need a few good fits. These five space types consistently perform well for makers placing products for the first time.
Coffee shops and cafes. High daily footfall, long dwell times, and customers in a browsing mindset. A cafe counter or windowsill is one of the most visited surfaces in a neighborhood. Read more about what cafes look for in a product placement partner before you approach one.
Independent boutiques. Boutique customers expect to discover products they have not seen before, and boutique owners are already curators. Your placement fits naturally into a space built around the idea of finding something new.
Bed and breakfasts. Guests are often looking to bring something local home. A small retail corner in a B&B common room or bedroom puts your product in front of visitors actively seeking local character. See how bed and breakfasts use retail corners to earn from otherwise idle space.
Hotels. Lobby and reception areas receive continuous foot traffic from guests, visitors, and staff. A well-placed Retail Widget next to a curated display needs no hotel staff involvement. The full picture is in the guide on how hotels activate lobby and reception retail.
High-foot-traffic retailers. Bookshops, hardware stores, specialty food shops, and similar retailers often have underused wall space, end caps, or counter areas. If the customer demographic overlaps with yours, the placement pays off quickly. Check how high-traffic retailers think about idle shelf space to understand what motivates them to say yes.
The matching principle. Your product and the host space should share an audience. A handmade notebook belongs in a bookshop or a boutique hotel, not a sportswear store. Fit beats footfall.
A quick physical checklist before you pitch. Visit the space in person. Find a specific shelf, surface, or counter that has room. Confirm the space gets consistent foot traffic at the times your customer is likely to be there. Check that the lighting is good enough for your product to be seen.
How to frame the value for the host. Lead with what they earn, not with what you need. They receive a split payout on every sale, take zero inventory risk, and handle no extra operations. For most hosts with available space, that is a straightforward yes, and it takes the nervousness out of asking.
Your action item this week: identify three specific locations within walking distance of where you already operate, and contact each one. That is the whole first move.
How to Set Up a Product Placement in Five Steps
Step 1: Create your product listing. Add your product to SideStore with a name, price, and stock quantity. This is the record that every Retail Widget for this product draws from.
Step 2: Set your split percentage. Define how the sale price divides between you and the host merchant for this specific placement. You set this per placement at setup, so different locations can carry different splits based on what you negotiate.
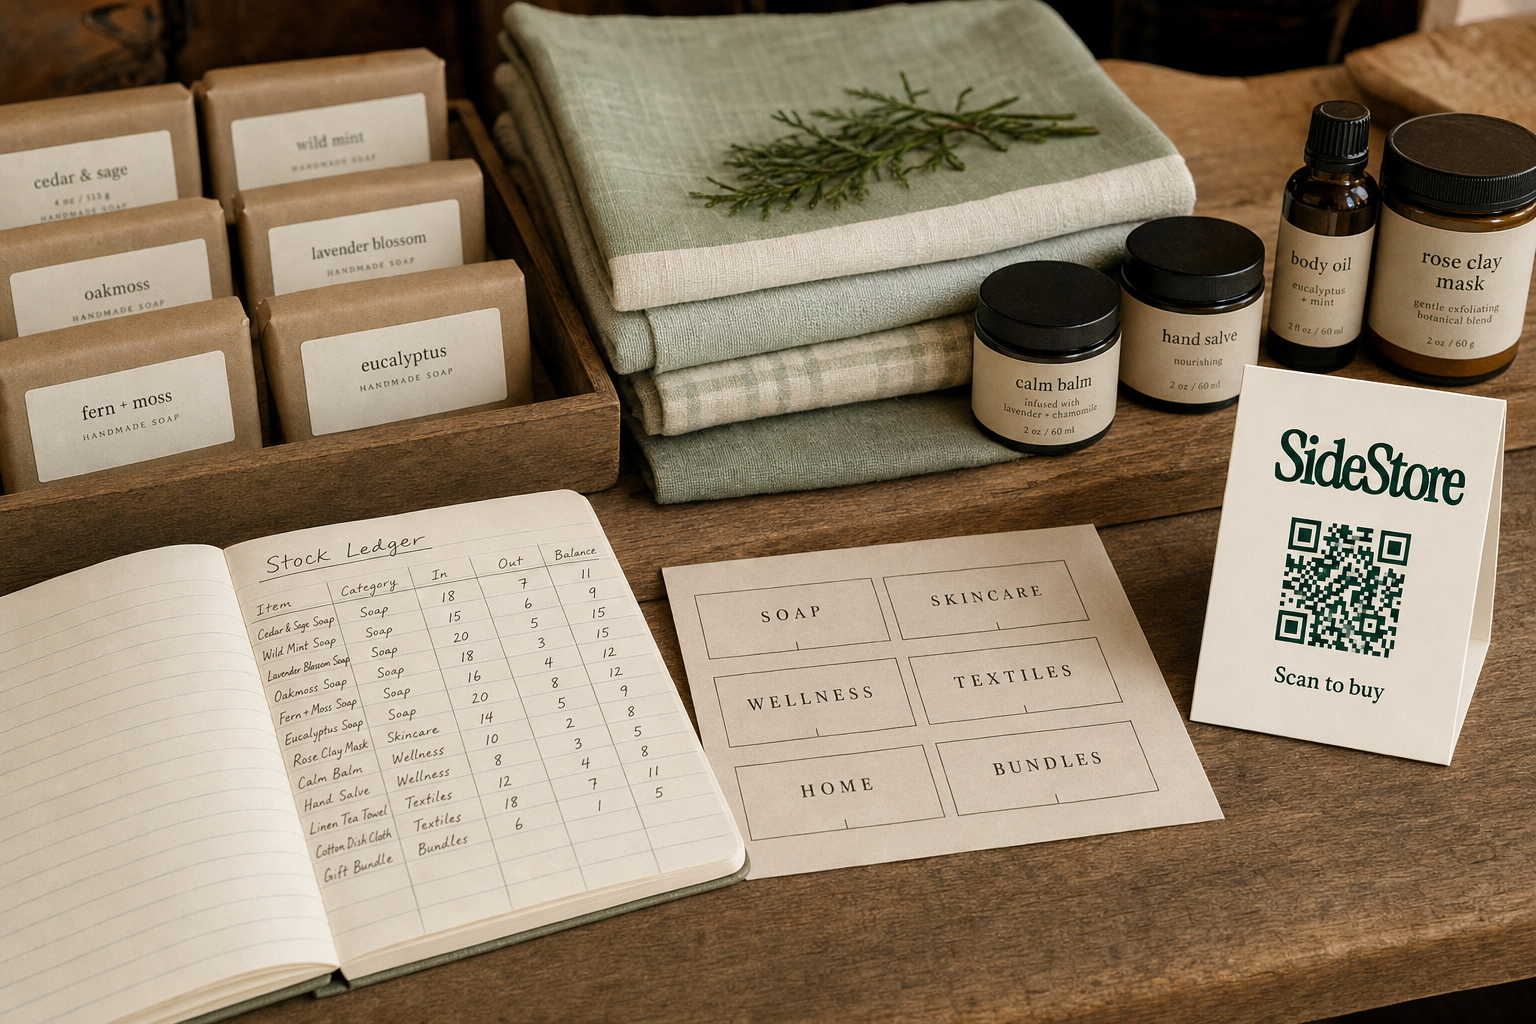
Step 3: Generate your Retail Widget. SideStore produces your Retail Widget, the interface for placing and managing this product on consignment, linked to your product listing, your split payout configuration, and placement attribution for that location. The printable scan-to-pay QR is part of it.
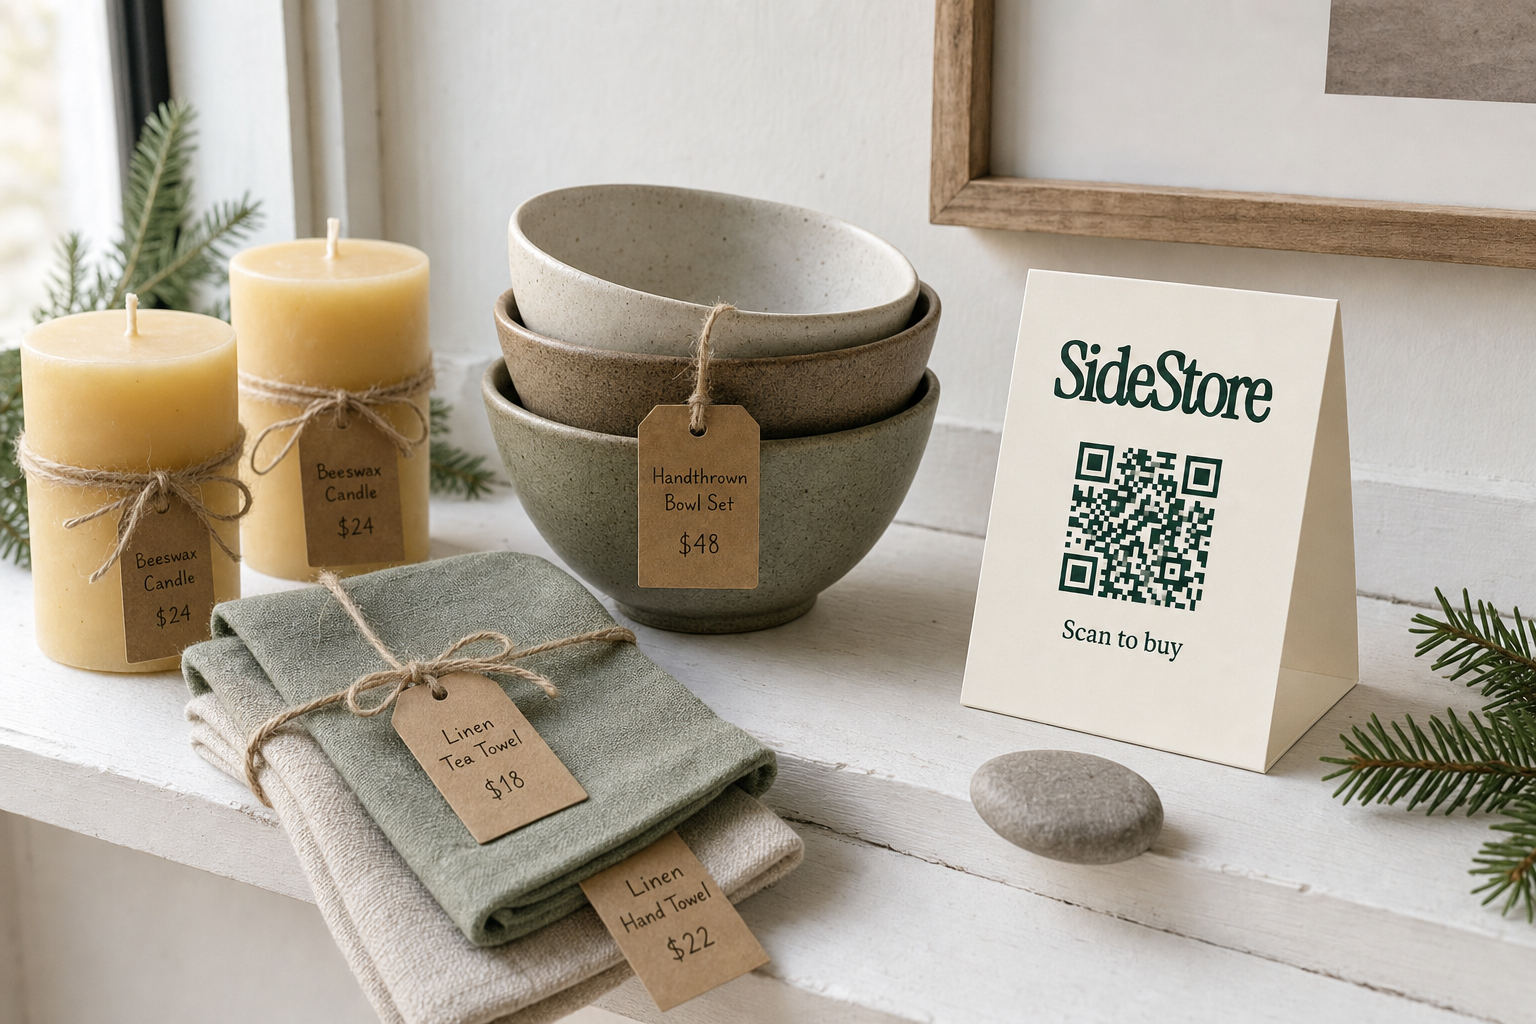
Step 4: Hand the Widget to your host merchant. Print the scan-to-pay card and deliver it with your product. Show them where to display it. No technical setup is required on their end, because the checkout is entirely customer-driven.
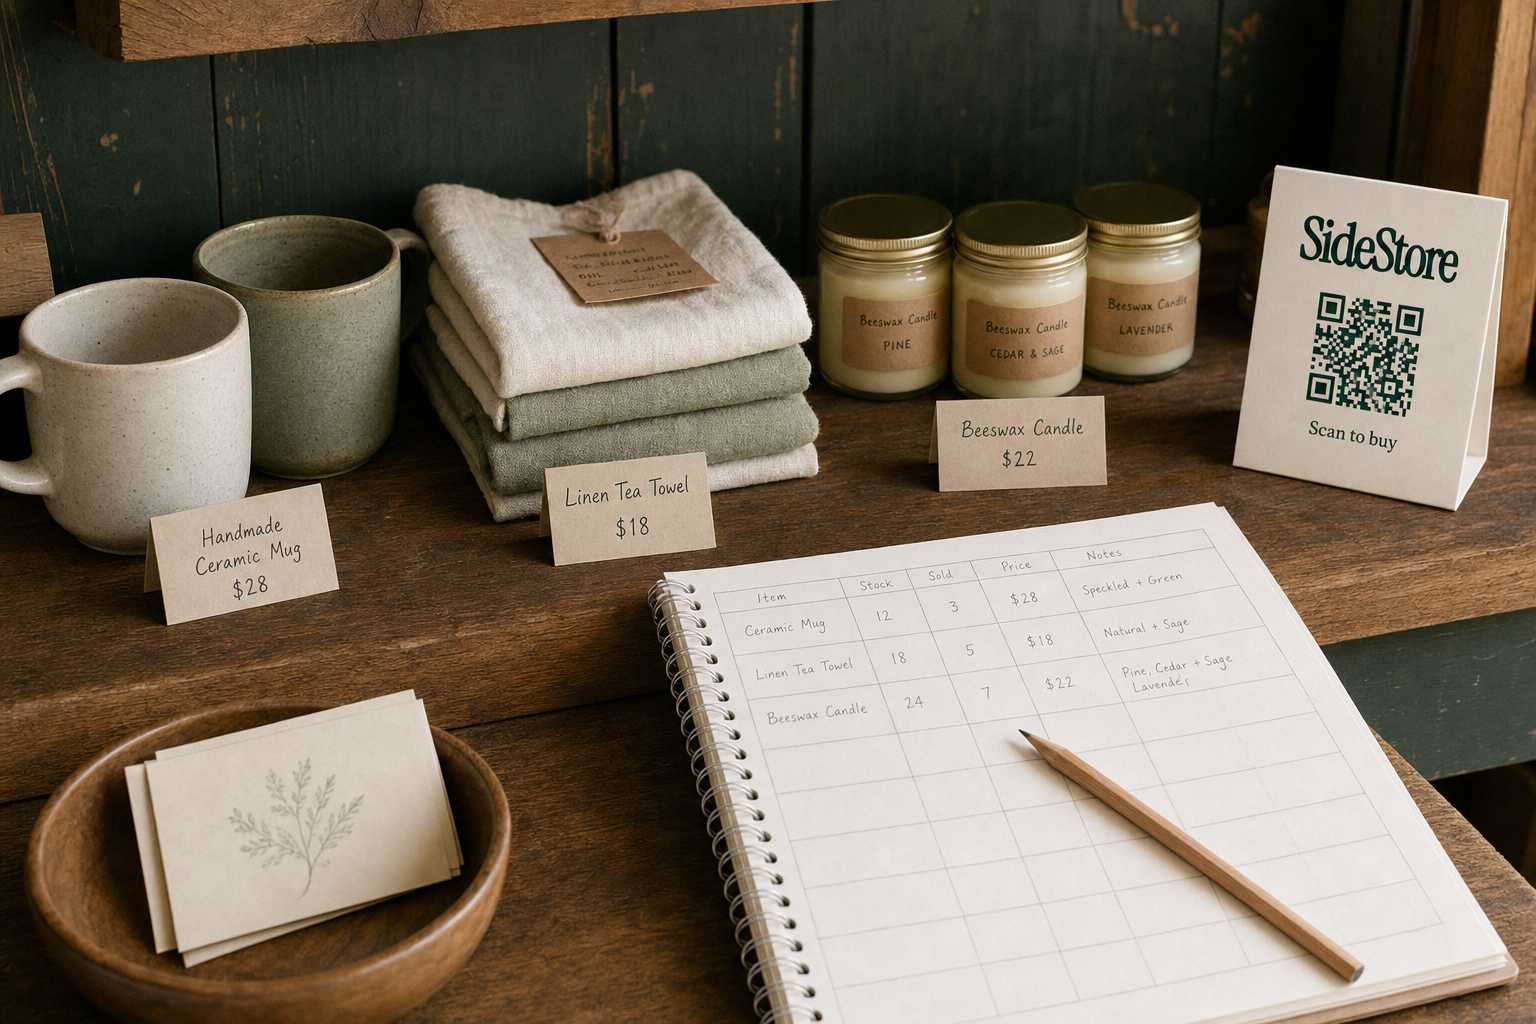
Step 5: Monitor from your dashboard. Once the placement is live, your SideStore dashboard begins recording scans, completed scan-to-pay transactions, live stock levels, and placement attribution by location. Restock when stock tracking shows inventory running low at that spot.
That is the whole sequence: five steps from product listing to a live placement generating real sales data. There is no point-of-sale system to install, no staff to train beyond a two-minute handover, and no ongoing work for the host. If the idea of "setting up retail" has felt heavy before, this is deliberately the opposite.
Managing Stock Across Multiple Placements Without Losing Track
The honest worry with distributed selling is visibility. If your products sit across five or ten locations, how do you know what is running low, what is selling, and where to send your next restock batch?
Without a system, you end up relying on host merchants to tell you when stock is low. They are running their own business, and chasing updates across ten locations by text or phone is not a distribution network, it is a second unpaid job.
SideStore's live stock tracking removes that entirely. Every scan-to-pay transaction automatically decrements the stock count for that specific Retail Widget. Your dashboard shows current stock levels per placement in real time, with no manual update from anyone.
Picture a concrete scenario. You have fifteen units of a ceramic mug placed across five cafes, three per location. Two weeks in, Placement 3 has sold out, Placement 1 has one unit left, and Placements 2, 4, and 5 still hold two or more each. You see all of that in one dashboard view. You restock Placement 3 and Placement 1 on your next delivery run, and you skip the other three. No guessing, no wasted trips.
That is the efficiency that makes a distributed network genuinely manageable for a solo maker. You are not chasing information. You are reading live data.
Placement attribution adds a second layer of insight. Because each Retail Widget is tied to a specific location, you can see not just how many units sold, but which locations drove those sales. Over time, that tells you which placements are worth expanding and which are not worth renewing, so your energy goes where it is rewarded.
How Split Payouts Work and What You Actually Earn
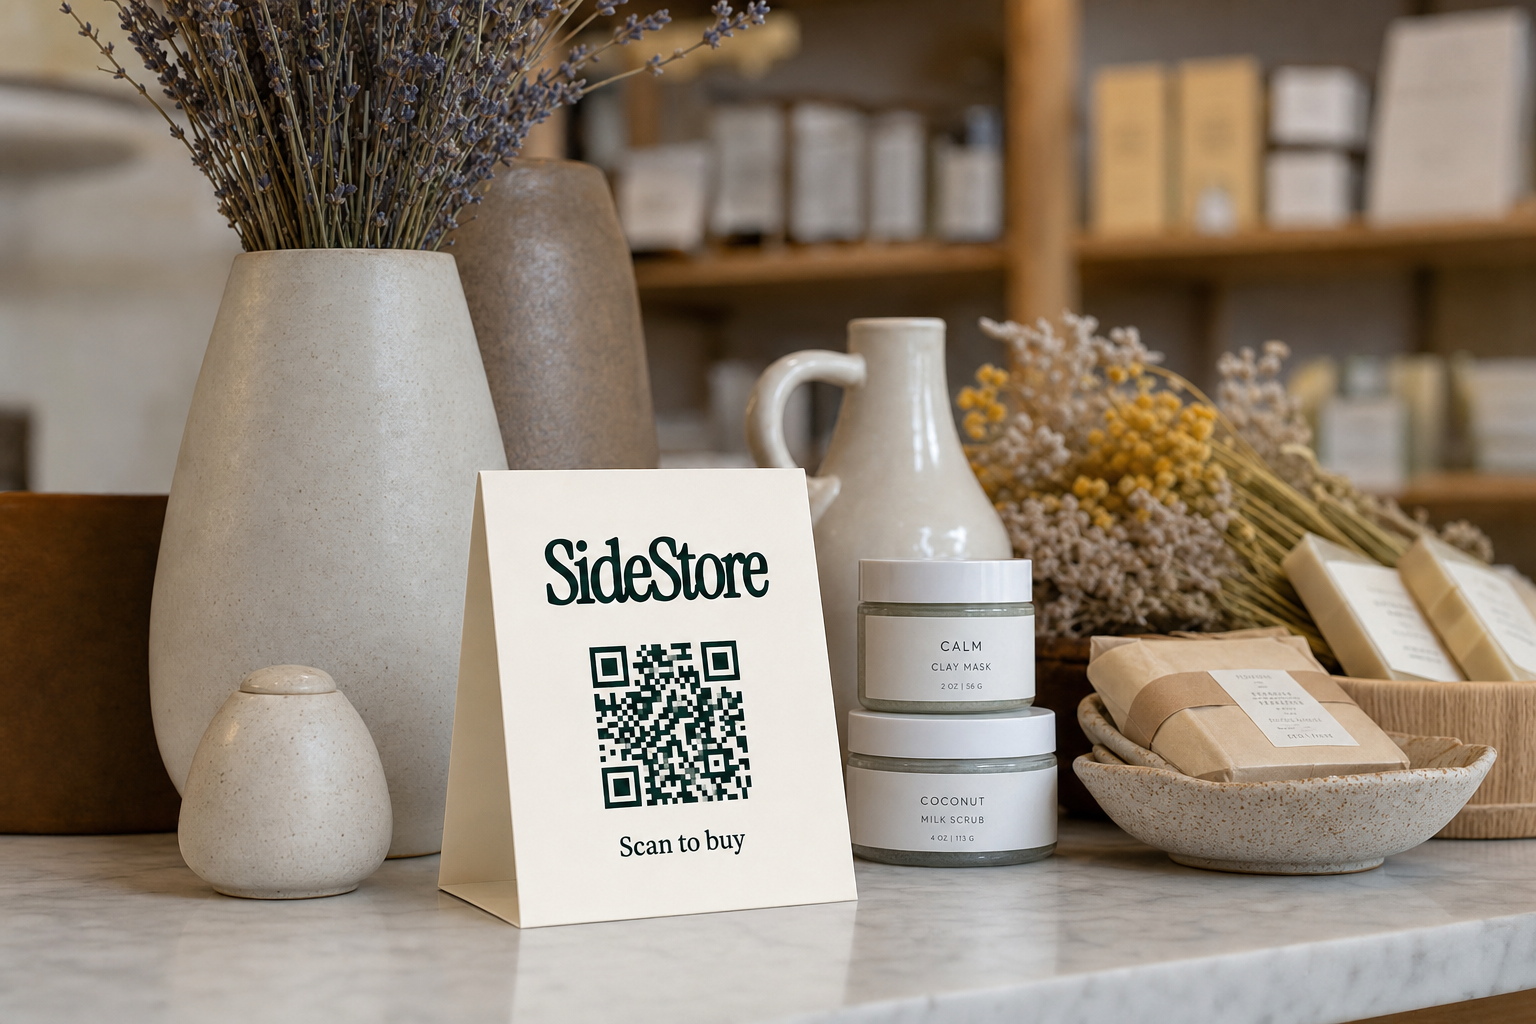
Split settlement is the financial mechanism that keeps consignment fair for both sides, and it is worth understanding clearly so you can price with confidence. You set a split percentage per placement when you generate the Retail Widget, and that percentage applies to every scan-to-pay transaction at that location.
Here is a concrete example in CHF. Suppose you price your product at CHF 40 and agree on an 80/20 split with the host merchant. When a customer scans and pays, CHF 32 routes to you and CHF 8 routes to the merchant. The split settles instantly. There are no invoices to raise, no end-of-month reconciliation, and no awkward transfers to chase.
Because you set the split per placement, you have room to be flexible. A high-footfall hotel lobby that you expect to drive real volume might justify a 70/30 split. A smaller cafe where you are glad of the shelf might stay at 85/15. You decide, based on what each location actually delivers for you.
This is also how merchants earn from hosting products without taking on inventory risk. The Retail Widget handles the transaction and the split at the same moment, so neither party has to trust the other to settle up later. The system settles in real time, which protects the relationship as much as the money.
Your effective net per unit is your price multiplied by your split percentage, minus any platform fee. That number is visible before you go live, so you can price your products with the split factored in from the start, and never be surprised by what lands in your account.
Scaling From One Placement to a Distributed Consignment Network
Most makers start with a single placement to test the water, and that is exactly the right instinct. Here is how a healthy progression tends to look across three stages.
Stage 1: Validation. One or two placements in spaces where you already have a relationship. The goal is simply to confirm that your product sells through a Retail Widget in a real location, that your stock tracking is accurate, and that the scan-to-pay flow works for customers in that context. Two to four weeks is enough to read the signal, so you do not have to commit before you have evidence.
Stage 2: Expansion. Once one placement is converting consistently, replicate the setup in three to five new locations. Use the placement attribution data from Stage 1 to guide you: a product that sold well in a boutique hotel lobby should go into similar spaces next. You are following what worked, not guessing.
Stage 3: Network. At ten or more active placements, the dashboard becomes your operations center. You read stock levels, monitor scan-to-pay volume by location, adjust splits where it makes sense, and make restocking decisions from data rather than intuition. Makers who also want a stocked-shelf option can layer in selling on consignment in physical stores alongside their scan-to-pay placements.
The constant across all three stages is the dashboard. Managing fifteen placements is not meaningfully harder than managing five, because the system handles the tracking, attribution, and settlement for you. Your business scales without your workload scaling with it.
Start With One Placement, Build From There
You do not need a storefront to sell physical products in the real world. You need the right spaces, a Retail Widget in each one, and a dashboard that shows you what is working. Everything else you have been told you need was built for a different kind of business than yours.
Pick one location this week. It might be reading how boutiques host local products without buying stock that convinces you a boutique is the right first step, or how cafes earn from product placements that points you to the coffee shop around the corner. Either way, the setup takes five steps and the Widget goes live the same day.
One placement gives you real sales data, real placement attribution, and real split payouts. From there, you build at your own pace.
Build a consignment network without opening a store of your own.